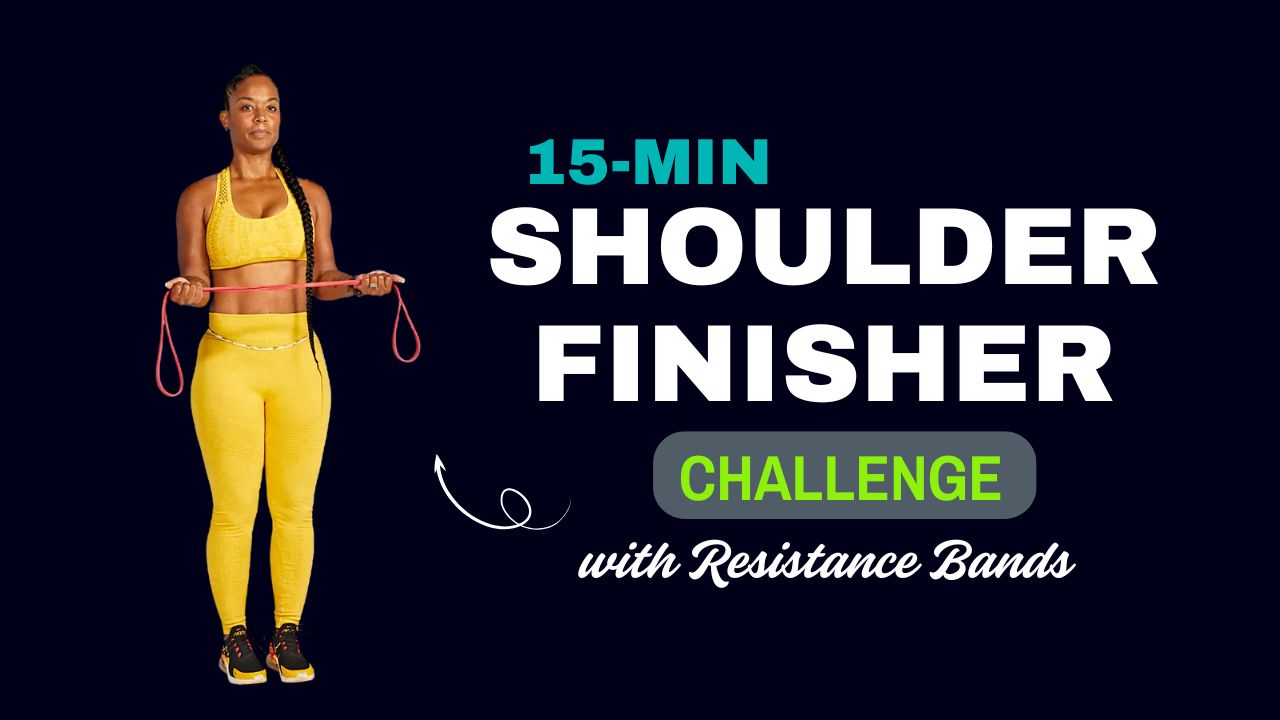
Ever finished a workout and felt like your shoulders still had more to give? That’s where a “finisher” comes in — a short, high-intensity burst at the end of your training session designed to push your muscles to the limit and unlock new levels of strength and endurance.
And here’s the kicker: you don’t need heavy dumbbells or fancy gym machines to make it happen. With just a resistance band and 15 minutes, you can sculpt stronger, more defined shoulders, enhance stability, and supercharge your upper body performance.
Did you know? Studies have shown that resistance bands can activate muscles as effectively as free weights, with the added benefit of constant tension throughout the movement — something most weights can’t provide. This makes them a powerful tool for both muscle growth and joint health.
In this 15-Minute Shoulder Finisher Challenge, you’ll perform a series of resistance band exercises that target all three heads of the deltoids — front (anterior), side (lateral), and rear (posterior) — plus supporting muscles like the traps and rotator cuff. By the end, your shoulders will be pumped, fatigued, and ready to grow.

Table of Contents
Why Use Resistance Bands for Shoulder Finishers?
Before diving in, let’s address a common myth:
Myth: “You can’t build serious shoulder size or strength without heavy weights.”
Truth: Resistance bands can create intense muscle stimulation through progressive resistance — the harder you stretch, the more resistance you generate. They also improve functional strength and stability, reducing the risk of injury in sports and daily activities.
Benefits of resistance bands for shoulder finishers:
- Constant tension through the full range of motion
- Joint-friendly (reduced strain compared to heavy weights)
- Portable and versatile
- Perfect for burnout sets at the end of a workout
What Can Happen After 30 Days of the 15-Minute Shoulder Finisher Challenge
| Positive Changes | Potential Issues if Done Incorrectly |
|---|---|
| Noticeable increase in shoulder endurance and stamina. | Shoulder strain or joint discomfort from poor form. |
| Improved muscle definition in front, side, and rear delts. | Overtraining if done daily without rest days. |
| Better posture due to stronger rear delts and traps. | Imbalance if other muscle groups are neglected. |
| Increased shoulder stability and reduced risk of injury. | Possible rotator cuff irritation if using bands that are too heavy. |
| Enhanced pressing strength in other upper-body workouts. | Plateau in progress if resistance is not gradually increased. |
| Greater mind-muscle connection for more effective training. | Loss of motivation if workout variety is not maintained. |
Do’s & Don’ts – 15-Minute Shoulder Finisher Challenge with Resistance Bands
| Do’s | Don’ts |
|---|---|
| Warm up your shoulders with light mobility work before starting. | Skip your warm-up — this increases the risk of injury. |
| Maintain proper posture and engage your core throughout each exercise. | Arch your lower back or lean excessively during presses. |
| Choose the right resistance band tension for your fitness level. | Use a band that’s too heavy, which can compromise your form. |
| Perform each movement in a slow, controlled manner for maximum tension. | Rush through reps — momentum reduces muscle activation. |
| Focus on full range of motion to target the muscle effectively. | Shorten the range of motion unless modifying for injury. |
| Keep your wrists neutral to avoid strain during pressing and pulling. | Bend your wrists excessively or lock them in awkward angles. |
| Listen to your body and stop if you feel sharp pain. | Push through sharp or abnormal joint pain thinking it’s normal soreness. |
The 15-Minute Shoulder Finisher Exercises
You’ll perform these exercises back-to-back with minimal rest, hitting every angle of your shoulders.
Here’s the detailed breakdown, including description and how-to for each.
1. Resistance Band Overhead Press
Description: A classic shoulder-building move that targets the anterior deltoids while engaging the triceps and core.
How to:
- Stand with feet shoulder-width apart, band looped under your feet.
- Hold each end of the band at shoulder height, palms facing forward.
- Press upward until your arms are fully extended overhead.
- Slowly lower back to starting position.
Pro Tip: Avoid leaning back — keep your core tight to protect your lower back.
2. Front Raise
Description: Isolates the front delts, helping create that rounded, capped shoulder look.
How to:
- Stand with feet hip-width apart, band under your feet.
- Grip the ends of the band in front of your thighs, palms facing down.
- Raise your arms straight in front of you until they reach shoulder height.
- Lower under control.
Interesting Fact: The front raise not only builds muscle but also improves functional strength for movements like pushing open heavy doors.
3. Lateral Raise
Description: Hits the side delts, giving your shoulders width and improving overall shape.
How to:
- Stand tall, band under your feet, arms at your sides.
- Hold the band with palms facing in.
- Lift arms out to the sides until parallel to the floor.
- Slowly lower to the starting position.
Pro Tip: Keep a slight bend in the elbows to reduce joint strain.
4. Upright Row
Description: Targets the lateral delts and traps for a stronger, more defined upper frame.
How to:
- Stand with feet shoulder-width apart, band under your feet.
- Grip the band ends in front of your thighs, palms facing your body.
- Pull the band upward toward your chin, keeping elbows higher than wrists.
- Lower slowly.
Did You Know? Upright rows can also activate the rear delts if performed with a slightly wider grip.
5. Face Pull
Description: Strengthens the rear delts, traps, and rotator cuff, improving posture and shoulder stability.
How to:
- Anchor the band at upper chest height.
- Hold each end with palms facing down.
- Pull the band toward your face, elbows flaring outward.
- Squeeze your shoulder blades together, then return slowly.
Pro Tip: This is one of the best preventive exercises for shoulder injuries.
6. Front-to-Lateral Raise Combo
Description: Combines two movements for an intense burn in both front and side delts.
How to:
- Stand on the band with feet hip-width apart.
- Perform one front raise, then one lateral raise.
- Continue alternating without rest until reps are complete.
Training Insight: This combo is perfect for time efficiency and muscle fatigue in finishers.
7. Band Pull-Apart
Description: A simple yet powerful move for rear delt activation and posture correction.
How to:
- Hold the band in front of you at shoulder height with both hands.
- Pull the band apart by moving your hands outward until the band touches your chest.
- Slowly return to the start.
Did You Know? This is a favorite warm-up exercise for powerlifters to keep shoulders healthy.
8. Resistance Band Arnold Press
Description: A shoulder press variation that works all three deltoid heads in one fluid movement.
How to:
- Stand on the band, hold the ends at shoulder height with palms facing you.
- Rotate palms outward while pressing overhead.
- Reverse the motion on the way down.
Pro Tip: Keep the movement smooth to avoid jerking your shoulders.
9. Overhead Band Hold
Description: An isometric move that challenges shoulder stability and endurance.
How to:
- Stand on the band and press it overhead until arms are straight.
- Hold the position for the prescribed time, keeping core engaged.
Fun Fact: Isometric holds can increase time-under-tension, a key factor for muscle growth.
10. Resistance Band Reverse Fly
Description: Strengthens rear delts and upper back for balanced shoulder development.
How to:
- Anchor the band at chest height.
- Hold ends with palms facing each other.
- Pull arms outward in a reverse fly motion.
- Return slowly.
11. Behind-the-Back Lateral Raise
Description: A variation that adds a different angle of tension to the side delts.
How to:
- Stand on the band, holding the ends behind your hips.
- Lift arms out to the sides until parallel to the floor.
- Lower under control.
12. Resistance Band Shrug
Description: Builds the traps, which complement the delts for a stronger upper body appearance.
How to:
- Stand on the band with feet shoulder-width apart.
- Hold ends at your sides, palms facing in.
- Shrug shoulders upward as high as possible.
- Lower slowly.
13. Band External Rotation
Description: Strengthens the rotator cuff for injury prevention.
How to:
- Anchor the band at elbow height.
- Hold the end with your working arm bent at 90 degrees.
- Rotate your forearm outward away from your body.
- Return slowly.
14. Band Internal Rotation
Description: The opposite of external rotation, targeting different rotator cuff muscles.
How to:
- Anchor the band at elbow height.
- Hold the end with your working arm bent at 90 degrees.
- Rotate your forearm inward across your body.
- Return slowly.
15. Resistance Band Front Press-Out
Description: Engages front delts and chest while building pressing strength.
How to:
- Hold the band at chest height with both hands.
- Press it straight out until arms are extended.
- Return slowly.
The 15-Minute Shoulder Finisher Challenge Routine
Structure:
- Perform each exercise for 40 seconds, rest 10 seconds, then move to the next.
- Complete all 15 exercises in sequence (15 minutes total).
- Adjust band tension by changing grip or foot placement.
Workout Routine – Row Format
Round: 1 round only (15 minutes total)
Tempo: Controlled movements, focus on mind-muscle connection
Equipment: Medium-resistance band
- Overhead Press – 40s / Rest 10s
- Front Raise – 40s / Rest 10s
- Lateral Raise – 40s / Rest 10s
- Upright Row – 40s / Rest 10s
- Face Pull – 40s / Rest 10s
- Front-to-Lateral Raise Combo – 40s / Rest 10s
- Band Pull-Apart – 40s / Rest 10s
- Arnold Press – 40s / Rest 10s
- Overhead Hold – 40s / Rest 10s
- Reverse Fly – 40s / Rest 10s
- Behind-the-Back Lateral Raise – 40s / Rest 10s
- Shrug – 40s / Rest 10s
- External Rotation – 40s / Rest 10s
- Internal Rotation – 40s / Rest 10s
- Front Press-Out – 40s / Rest 10s
Workout Routine – Table Format
| Exercise | Time | Rest |
|---|---|---|
| Overhead Press | 40 sec | 10 sec |
| Front Raise | 40 sec | 10 sec |
| Lateral Raise | 40 sec | 10 sec |
| Upright Row | 40 sec | 10 sec |
| Face Pull | 40 sec | 10 sec |
| Front-to-Lateral Raise Combo | 40 sec | 10 sec |
| Band Pull-Apart | 40 sec | 10 sec |
| Arnold Press | 40 sec | 10 sec |
| Overhead Hold | 40 sec | 10 sec |
| Reverse Fly | 40 sec | 10 sec |
| Behind-the-Back Lateral Raise | 40 sec | 10 sec |
| Shrug | 40 sec | 10 sec |
| External Rotation | 40 sec | 10 sec |
| Internal Rotation | 40 sec | 10 sec |
| Front Press-Out | 40 sec | 10 sec |
Conclusion – Your Shoulders, Stronger in Just 15 Minutes
This 15-Minute Shoulder Finisher Challenge with Resistance Bands isn’t just about ending your workout with a burn — it’s about consistently overloading your muscles in a safe, efficient, and highly targeted way.
By hitting all three heads of the deltoids along with supporting muscles like the traps and rotator cuff, you’re building not only size and definition but also strength, stability, and injury resistance.
Whether you’re training at home, traveling, or simply want to spice up your gym routine, this finisher can fit right in. The best part? You don’t need heavy weights — just a resistance band, 15 minutes, and the will to push through the burn.
Remember, finishers work best when paired with a solid overall workout plan and progressive overload. Commit to performing this challenge 2–3 times per week after your main training, and over time you’ll notice your shoulders becoming more sculpted, powerful, and resilient.
Frequently Asked Questions (FAQs)
Can I do this finisher without any prior shoulder workout?
Yes, you can, but this routine is designed as a finisher, meaning it works best after a primary shoulder or upper body workout. Doing it without prior training will still build strength and endurance, but it may not deliver the same “burnout” effect.
How often should I perform this shoulder finisher?
For best results, aim for 2–3 times per week, ensuring at least 48 hours of rest between sessions to allow muscle recovery.
Which resistance band should I use for this workout?
A medium-tension resistance band works for most people. If you’re more advanced, you can use a heavier band or shorten your grip for added resistance.
Will resistance bands actually build muscle in my shoulders?
Yes. Resistance bands provide constant tension throughout the movement, which stimulates muscle growth effectively when combined with proper form and progressive overload.
Can beginners try this shoulder finisher?
Absolutely. Beginners can reduce the time for each exercise to 20–30 seconds or use a lighter resistance band until they build enough strength.
Is this workout safe for people with shoulder injuries?
If you have an existing shoulder injury, consult a physiotherapist before trying this routine. Some moves, like upright rows, may need modification or replacement with safer alternatives.
Do I need to warm up before this finisher?
Yes. A 5–7 minute dynamic warm-up with light band pull-aparts, arm circles, and shoulder rotations will help prevent injury and prepare your muscles for intense work.
Can I combine this with other finishers for different muscle groups?
Yes, but avoid stacking multiple upper-body finishers in one session as it can lead to fatigue and reduced performance. Instead, pair this with lower-body or core finishers on different days.
How long will it take to see results from this workout?
With consistent training and proper nutrition, you can start noticing improved strength and muscle definition in as little as 4–6 weeks.
Can I replace dumbbell shoulder workouts with this band routine entirely?
You can, especially if you train at home or prefer joint-friendly workouts. However, combining both free weights and bands can offer the best of both worlds — strength gains and joint safety.