Do you know that one of the most neglected yet most used muscle groups in your body are your forearms?
Whether you’re opening a jar, gripping a barbell, or climbing stairs, your forearms are always working behind the scenes. And if you think pull-up bars are just for your back and biceps, it’s time to look again.
While many chase after bigger biceps or broader shoulders, it’s a strong grip and muscular forearms that quietly separate the serious lifters from the average.
What’s more? A strong forearm moves can reduce elbow injuries, improve your lifts, and help you perform better in other compound exercises like deadlifts and rows.
In this guide, we’ll cover 7 highly effective pull-up bar forearm exercises, how to perform each one, and what makes them worth adding to your routine.
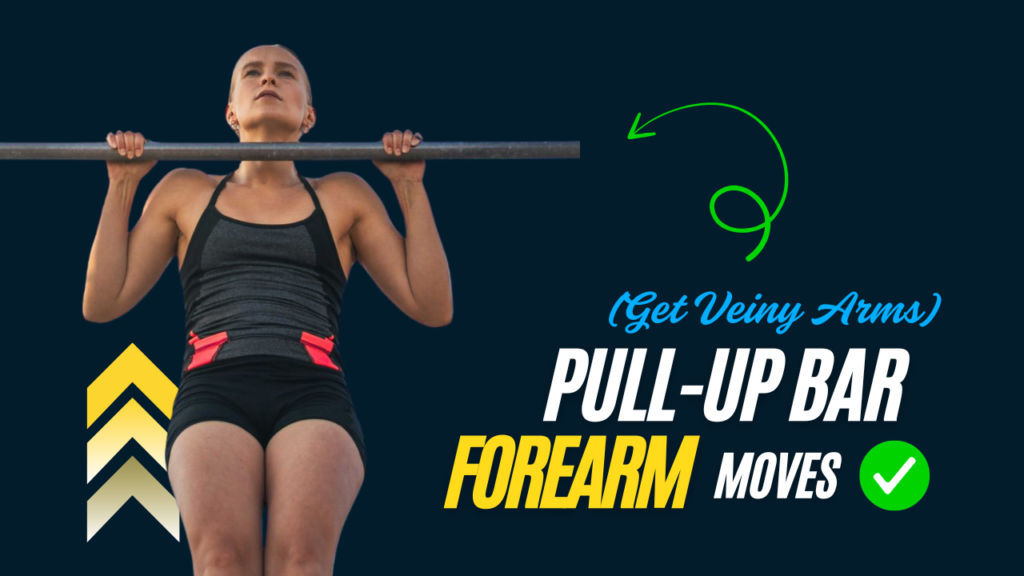
Table of Contents
What Can Happen After 30 Days of Pull-Up Bar Forearm Exercises
| Change/Result | Description |
|---|---|
| Increased Grip Strength | You’ll notice firmer, longer-lasting grip during workouts and daily activities. |
| Visible Forearm Muscle Definition | Veins and muscles in your forearms may become more pronounced and toned. |
| Better Pull-Up & Deadlift Performance | Stronger grip leads to improved performance in compound upper-body lifts. |
| Enhanced Wrist Stability | More control and stability in your wrists during pushing and pulling movements. |
| Reduced Risk of Elbow and Wrist Strain | Strengthened forearms protect joints during high-tension lifts. |
| Higher Confidence in Functional Strength | Tasks like opening jars, lifting heavy bags, or climbing will feel easier. |
| Improved Endurance in Hanging Movements | You’ll be able to hang longer and perform more controlled bar exercises. |
Do’s & Don’ts of Pull-Up Bar Forearm Exercises
| Do’s | Don’ts |
|---|---|
| Warm up your wrists and shoulders before starting | Jump straight into hangs or pulls without preparing joints |
| Focus on form, grip engagement, and control | Swing or use momentum to cheat the movement |
| Start with easier variations like dead hangs | Attempt advanced moves (like typewriters) without a base |
| Use a timer to track progress and build endurance | Rely solely on reps without monitoring time under tension |
| Rest between sets to prevent grip fatigue | Overtrain your forearms daily without recovery |
| Switch up grips (overhand, towel, mixed, etc.) | Stick to only one grip style — it limits full development |
| Listen to your body and stop if pain occurs | Push through wrist or elbow pain thinking it’s “normal” |
7 Best Pull-Up Bar Forearm Moves
1. Dead Hang
How to Do It:
- Grab the pull-up bar with an overhand grip, shoulder-width apart.
- Let your body hang freely with arms extended.
- Engage your shoulders slightly to avoid slumping.
- Hold the position for as long as you can (aim for 30–60 seconds to start).
Benefits:
- Builds endurance in your forearm flexors.
- Enhances grip strength and wrist stability.
- Prepares your forearms for heavier lifts.
Interesting Fact:
Just holding your bodyweight against gravity forces your forearm muscles to contract isometrically, which is a powerful way to build strength without even moving.
2. Towel Hangs
How to Do It:
- Drape two small towels over the pull-up bar.
- Grab one towel in each hand and let yourself hang.
- Maintain a tight grip and hold for 20–40 seconds per round.
Benefits:
- Targets finger and wrist strength more intensely than regular hangs.
- Mimics the grip demands of rock climbing or martial arts.
- Improves your crushing grip and forearm endurance.
Myth Buster:
Many think towel hangs are just a fancy variation.
But in reality, they engage more small stabilizing muscles in your wrists and fingers than a regular dead hang.
3. Commando Pull-Ups
How to Do It:
- Stand sideways under the bar.
- Grab the bar with one hand in front of the other (palms facing inward).
- Pull yourself up so your head alternates passing each side of the bar.
- Lower down slowly and repeat.
Benefits:
- Intense focus on wrist rotation and grip tension.
- Works both biceps and forearms together.
- Builds functional strength that translates to real-world pulling motions.
4. Pull-Up Bar Wrist Rolls
How to Do It:
- Hang from the bar in a neutral grip (palms facing each other).
- Rotate your wrists inward and outward slowly while hanging.
- Perform 10–15 controlled rolls per set.
Benefits:
- Isolates wrist flexors and extensors.
- Builds endurance and coordination in your grip.
- Enhances forearm vascularity and control.
Did You Know?
These small wrist rotations create micro-adjustments that strengthen overlooked tendons and ligaments, reducing the risk of overuse injuries.
5. Mixed Grip Pull-Up Holds
How to Do It:
- Use a mixed grip — one palm facing you, one facing away.
- Pull up and hold at the top position for 5–10 seconds.
- Switch grips and repeat.
Benefits:
- Challenges grip asymmetry, forcing both arms to stabilize.
- Improves forearm strength on both the flexor and extensor sides.
- Engages wrist and elbow stabilizers more deeply.
6. Typewriter Pull-Ups
How to Do It:
- Pull yourself up to the bar.
- While staying at the top, shift your bodyweight left to right.
- Keep your elbows bent and move in a slow, controlled motion.
Benefits:
- Forces constant grip re-engagement with every shift.
- Stretches and contracts different parts of the forearm.
- Builds grip endurance and wrist mobility.
7. Explosive Grip Pulls (Isometric Squeeze)
How to Do It:
- Hang from the bar.
- Squeeze the bar as hard as you can for 5 seconds.
- Release the tension (don’t let go), and rest for 5 seconds.
- Repeat this “squeeze-release” cycle for 5–10 rounds.
Benefits:
- Mimics real-world grip demands like holding onto a slipping object.
- Activates deep-tissue forearm muscles for maximum contraction.
- Boosts grip explosiveness — helpful for sports and martial arts.
Final Thoughts
You don’t need a fancy gym or a heavy barbell to build beastly forearms. With just a pull-up bar, your bodyweight, and some strategy, you can unlock next-level grip strength, endurance, and vascular definition.
Most people underestimate how much grip limits their performance. Think about it: what good is a strong back if you can’t hold onto the bar?
Frequently Asked Questions (FAQs)
Can pull-up bar exercises really grow forearms?
Yes, pull-up bar exercises can significantly improve forearm size and strength. The gripping, hanging, and pulling movements activate the forearm flexors and extensors, promoting muscle development over time when done consistently.
How often should I train forearms using a pull-up bar?
You can train forearms 2–3 times per week using a pull-up bar, allowing at least 48 hours of rest between sessions. Since forearms are used in many daily movements, they recover quickly—but overtraining can still lead to fatigue or strain.
Do I need to use extra weight with these exercises?
No, your bodyweight provides sufficient resistance for most forearm-focused exercises on a pull-up bar. However, if you’re more advanced, you can add a weight vest or hold a dumbbell between your legs for increased difficulty during hangs or holds.
Which is better for forearms: dumbbells or pull-up bar exercises?
Both have their place. Dumbbells allow for targeted isolation exercises, while pull-up bar moves build functional strength and endurance through compound and isometric training. For well-rounded development, incorporating both is ideal.
How long should I hang to build forearm strength?
Start with 20–30 seconds and gradually increase your hang time up to 60 seconds or more. Focus on quality over quantity—controlled breathing, shoulder engagement, and grip intensity are key to getting results.
Can these exercises help improve my grip strength for other lifts?
Absolutely. Exercises like towel hangs, wrist rolls, and explosive grip holds transfer directly to better grip strength in deadlifts, rows, pull-ups, and even daily activities like carrying groceries or lifting heavy objects.
Is it normal for my wrists or fingers to feel sore afterward?
Mild soreness in the wrists or fingers is normal, especially if you’re new to grip-intensive exercises. However, sharp pain or joint discomfort may indicate poor form or overtraining. Always warm up your wrists and stop if pain persists.
Do I need chalk or gloves for these exercises?
Chalk can improve grip and reduce slippage, especially during long hangs or towel variations. Gloves are optional but may reduce tactile feedback and grip development. For optimal results, train bare-handed unless calluses become a problem.