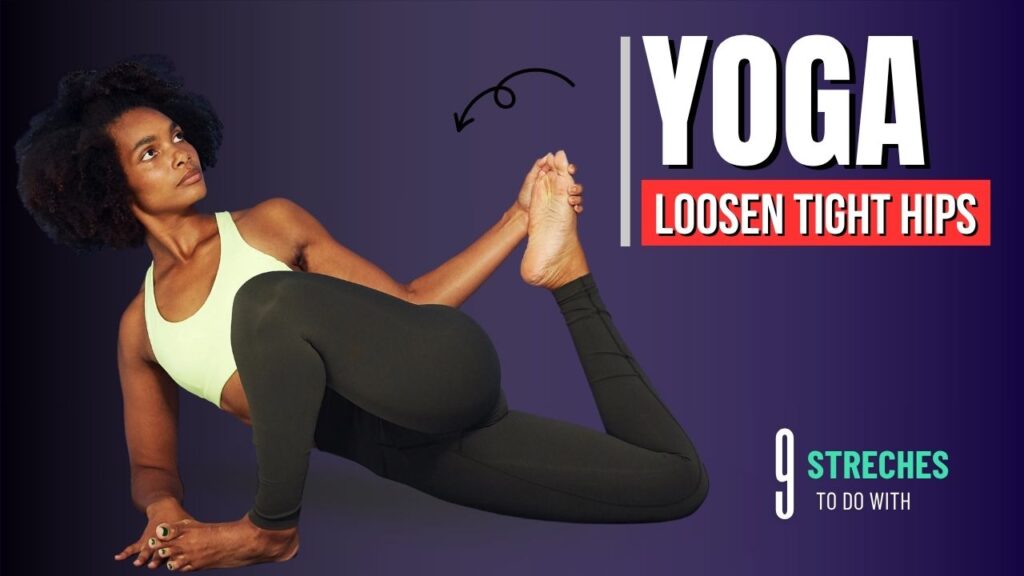
Do you know that tight hips don’t just make sitting uncomfortable—they can throw off your entire posture and even trigger lower back pain? Many people don’t realize how much tension is stored in the hip area until they experience stiffness, soreness, or reduced mobility.
Whether you’re glued to your desk all day, an active runner, or someone feeling the strain of sedentary living, incorporating daily hip stretches through yoga can create lasting relief.
This guide walks you through 9 effective, beginner-friendly yoga poses designed to loosen tight hips and restore natural flexibility, step by step.

Table of Contents
Why Your Hips Get Tight in the First Place
Before jumping into the stretches, it helps to understand why tight hips are so common. Most of us sit more than we should—at desks, in cars, on couches—which keeps our hip flexors in a shortened position for hours.
Over time, this leads to restricted mobility, tension, and even imbalance in the muscles surrounding the pelvis and lower back.
Myth: Stretching your hips once or twice a week is enough.
Reality: The hips are a complex joint system, and daily movement is often required to counteract the effects of inactivity or repetitive strain.
Now, let’s explore the 9 daily yoga stretches that can gradually help you unlock your hips.
What Can Happen After 30 Days of Daily Hip-Opening Yoga Stretches
| Positive Changes | How It Impacts You |
|---|---|
| Noticeable increase in hip flexibility | Makes daily movements like walking, sitting, and squatting more comfortable |
| Reduced lower back and pelvic tension | Relieves discomfort caused by tight hip flexors and glutes |
| Improved posture and core stability | Enhances alignment, reduces hunching, and supports a stronger spine |
| Better range of motion in workouts | Boosts performance in exercises like lunges, squats, running, and cycling |
| Fewer aches from sitting for long periods | Minimizes stiffness and soreness from desk-bound or sedentary lifestyles |
| Greater mind-body connection | Encourages relaxation and focus, reducing stress and physical tension |
| Enhanced balance and joint support | Strengthens surrounding muscles, lowering the risk of injury |
| Improved sleep quality (for some practitioners) | Evening hip stretches can release tension and promote a calmer nervous system |
Do’s & Don’ts for Hip-Opening Yoga Stretches
| Do’s | Don’ts |
|---|---|
| Warm up your body before going into deep hip stretches | Don’t force your body into a position it’s not ready for |
| Use props like blocks, cushions, or towels for extra support | Don’t skip alignment—improper form can lead to injury |
| Breathe deeply and consistently throughout each pose | Don’t hold your breath—it increases tension and limits the stretch |
| Start slow and increase intensity gradually over time | Don’t bounce or jerk into stretches—always use slow, steady movements |
| Practice consistently for long-term flexibility | Don’t expect instant results—tight hips take time to open up |
| Focus on how your body feels, not how it looks | Don’t compare yourself to others—every body is different |
| Modify poses if needed to match your current flexibility level | Don’t push through sharp pain—discomfort is okay, pain is not |
Top 9 Yoga Stretches To Loosen Tight Hips
1. Low Lunge (Anjaneyasana)
How it helps: Stretches the hip flexors, quads, and groin.
How to do it:
- Begin in a high plank or downward-facing dog.
- Step your right foot forward between your hands.
- Drop your left knee to the floor and untuck your toes.
- Inhale and raise your arms overhead, keeping your chest lifted.
- Hold for 30–60 seconds, switch sides.
Tip: Press your hips forward gently without overarching your back.
2. Pigeon Pose (Eka Pada Rajakapotasana)
How it helps: Opens the outer hips, glutes, and piriformis.
How to do it:
- Start in downward-facing dog.
- Bring your right knee forward and place it behind your right wrist.
- Extend your left leg straight behind you, toes pointing back.
- Square your hips and fold forward slowly.
- Stay for 1–2 minutes, then switch sides.
Interesting Fact: Pigeon pose is often used in physical therapy to relieve sciatic nerve pain.
3. Butterfly Pose (Baddha Konasana)
How it helps: Targets the inner thighs, groin, and hips.
How to do it:
- Sit with your legs extended forward.
- Bring the soles of your feet together and let your knees fall outward.
- Hold your feet with both hands.
- Sit tall or gently lean forward for a deeper stretch.
- Hold for 60 seconds or more.
Variation: You can place yoga blocks under the knees if your hips are very tight.
4. Lizard Pose (Utthan Pristhasana)
How it helps: Deeply opens hip flexors, hamstrings, and quads.
How to do it:
- From downward-facing dog, step your right foot outside your right hand.
- Lower your hips toward the floor.
- Stay on your hands or lower to your forearms for a deeper stretch.
- Keep the back leg extended.
- Hold for 30–60 seconds, then switch.
Do you know? This pose mimics the lizard’s creeping motion and is one of the best for prepping the hips before deeper backbends.
5. Garland Pose (Malasana)
How it helps: Opens the hips, stretches the lower back, and strengthens the ankles.
How to do it:
- Stand with feet wider than hip-width apart.
- Squat down deeply, bringing your tailbone close to the floor.
- Press your elbows into your knees and palms together at your chest.
- Keep your spine long and heels on the floor.
- Hold for 45 seconds to 1 minute.
Modification: Place a rolled-up towel under your heels if they lift off the ground.
6. Cow Face Pose (Gomukhasana) – Legs Only
How it helps: Stretches the outer hips and glutes.
How to do it:
- Sit on the floor with legs extended.
- Bend your right leg and bring your foot outside your left hip.
- Stack your left leg on top, foot outside the right hip.
- Sit tall and breathe deeply.
- Hold for 1 minute, then switch sides.
Tip: If stacking both legs is too intense, try crossing one leg over while keeping the bottom leg extended.
7. Happy Baby Pose (Ananda Balasana)
How it helps: Gently opens the hips and relaxes the lower spine.
How to do it:
- Lie on your back and bend your knees toward your chest.
- Grab the outsides of your feet with your hands.
- Gently press your knees toward the floor, keeping ankles over knees.
- Rock side to side if it feels good.
- Stay here for 1–2 minutes.
Myth: This is just a relaxation pose.
Truth: It actively opens the hips while decompressing the lower back.
8. Supine Figure-Four Stretch
How it helps: Loosens tight glutes and piriformis muscle.
How to do it:
- Lie on your back and bend both knees.
- Cross your right ankle over your left thigh.
- Thread your right hand between your legs and grab your left thigh.
- Pull your legs toward you gently.
- Hold for 30–60 seconds, then switch sides.
Bonus: This stretch can relieve pressure from prolonged sitting or standing.
9. Seated Forward Fold with Wide Legs (Upavistha Konasana)
How it helps: Targets inner thighs, hamstrings, and hips.
How to do it:
- Sit tall and spread your legs wide.
- Flex your toes toward the ceiling.
- Inhale to lengthen the spine, exhale and fold forward slowly.
- Walk your hands out in front of you.
- Stay for 1–2 minutes.
Tip: Don’t round your spine—aim to hinge from the hips.
Final Thoughts: Make Hips Happy with Consistency
You don’t need a 90-minute yoga session to see hip mobility improvements. Just 10–15 minutes daily with the above poses can transform your flexibility, posture, and lower-body comfort.
Remember: Consistency wins. These 9 yoga stretches don’t just target hip tightness—they rebalance the body, improve circulation, and help you move with ease.
Integrate them into your morning routine or evening wind-down, and in a few weeks, you might notice sitting feels easier, walking feels lighter, and workouts feel stronger.
Frequently Asked Questions (FAQs)
How often should I do these yoga stretches to see results?
For best results, aim to practice these stretches daily or at least 4–5 times a week. Even spending just 10–15 minutes a day can improve hip flexibility and reduce stiffness over time.
Can beginners do these hip-opening yoga poses?
Yes, all the poses listed are beginner-friendly and can be modified to suit your flexibility level. Use props like yoga blocks or rolled towels for extra support if needed.
How long will it take to loosen tight hips?
This depends on factors like your current mobility, activity level, and consistency. Some people feel relief in a few sessions, while deeper improvements may take a few weeks.
Is it normal to feel discomfort during hip stretches?
A mild, stretching sensation is normal, but you should never feel sharp pain. Ease into the poses gradually and avoid pushing beyond your comfort level.
Can tight hips affect lower back pain?
Absolutely. Tight hips—especially tight hip flexors or glutes—can lead to poor pelvic alignment, placing extra pressure on the lower back. Stretching the hips can help alleviate or prevent lower back issues.
Do I need any equipment to perform these yoga stretches?
No special equipment is necessary. However, having a yoga mat, blocks, or a cushion can enhance comfort, especially if your hips are very tight.
Can these stretches help with posture?
Yes. Tight hips often contribute to anterior pelvic tilt or slouching. Improving hip flexibility can support better spinal alignment and upright posture.
Are these poses safe during pregnancy?
Some of these poses (like butterfly or wide-leg forward fold) are commonly used during pregnancy, but always consult your doctor or prenatal yoga instructor before starting any new routine.
Can men benefit from these hip stretches too?
Absolutely. In fact, men often have tighter hips due to muscle mass, sports, or limited stretching routines. These stretches are beneficial for all genders and body types.


