Have you ever stood up after hours of sitting and felt like your spine was stuck in place? That sensation of tightness or immobility could be your body’s way of signaling spinal compression—a condition increasingly common due to poor posture, sedentary lifestyles, or muscle imbalances.
One of the most natural and effective ways to counter this compression? Backbending yoga poses. These heart-opening postures not only stretch and strengthen the spine but also increase spinal fluid circulation, relieve pain, and improve posture over time.
In this post, you’ll discover eight carefully selected backbends that can help decompress your spine, restore fluidity in movement, and boost energy levels.
Each pose comes with step-by-step instructions, benefits, and helpful tips to ensure you’re practicing safely and effectively.
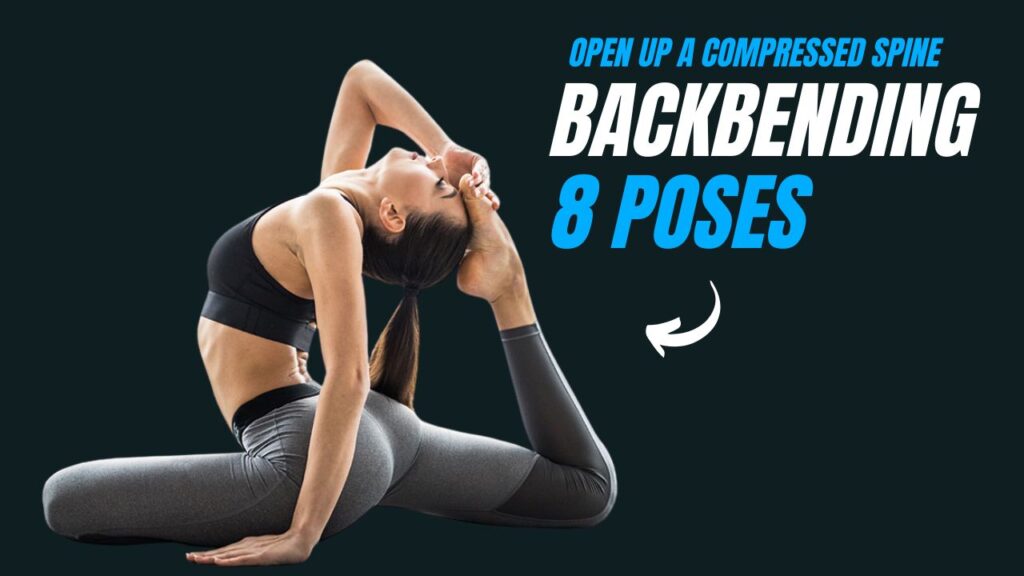
Table of Contents
What Is Spinal Compression?
Spinal compression occurs when the spaces between the vertebrae decrease, often due to gravity, aging, muscle tightness, or incorrect movement patterns. Over time, this can lead to nerve pressure, chronic pain, reduced flexibility, and a hunched posture.
Did you know? A healthy spine has natural curves in the cervical, thoracic, and lumbar regions—backbends help restore and maintain these essential curves.
What Can Happen After 30 Days of Practicing Backbending Poses
| Positive Changes | Explanation |
|---|---|
| Improved spinal flexibility | Daily backbends help restore natural curves and increase range of motion. |
| Reduced back and neck stiffness | Targeted movement mobilizes tight muscles and decompresses vertebrae. |
| Better posture and body alignment | Strengthening spinal extensors and opening the chest counteracts slouching. |
| Increased energy and mental clarity | Backbends stimulate the nervous system and open up breathing pathways. |
| Stronger core and back muscles | Repeated activation of supporting muscles leads to more stable spinal support. |
| Enhanced mood and emotional release | Heart-opening poses often trigger stress relief and emotional lightness. |
| Greater body awareness and mindfulness | Daily practice builds awareness of posture, breath, and movement patterns. |
| Decreased reliance on pain medication or posture correctors (in some cases) | Consistent spinal care may naturally relieve chronic tension or discomfort. |
Do & Don’t for Practicing Backbending Poses
| Do | Don’t |
|---|---|
| Warm up your spine and shoulders before attempting deep backbends. | Jump straight into intense backbends without preparation. |
| Focus on lengthening the spine before bending backward. | Compress the lower back or collapse into the lumbar spine. |
| Engage your core and thighs to protect your back. | Let your belly hang or over-arch without muscular support. |
| Start with gentle poses like Sphinx or Bridge. | Force yourself into advanced poses like Wheel if you’re not ready. |
| Use props (blocks, straps, bolsters) to modify poses as needed. | Push through pain or discomfort to match someone else’s flexibility. |
| Keep your neck neutral and shoulders relaxed. | Strain your neck or shrug shoulders toward your ears. |
| Breathe deeply and consistently during the pose. | Hold your breath or tense your jaw/face. |
| Listen to your body and come out of a pose slowly. | Rush in and out of postures without awareness. |
8 Best Backbending Poses
Pose 1: Sphinx Pose (Salamba Bhujangasana)
How to Do It:
- Lie flat on your stomach with your legs extended and tops of your feet pressing into the mat.
- Bring your elbows directly under your shoulders, forearms parallel.
- Inhale and gently lift your chest without straining your lower back.
- Keep the neck long and shoulders relaxed.
Why It Helps:
Sphinx is a beginner-friendly backbend that builds spinal awareness and strengthens the lower back without overloading it. It’s an excellent gateway pose to deeper backbends.
Myth Busted: “Backbends always hurt the lower back.”
Truth: When done correctly with spinal lengthening and core engagement, backbends protect and strengthen the lower back.
Pose 2: Bridge Pose (Setu Bandhasana)
How to Do It:
- Lie on your back, knees bent, feet hip-width apart.
- Press your arms into the floor and lift your hips on an inhale.
- Tuck your shoulders underneath and interlace your fingers.
- Hold for 5–7 breaths, focusing on lifting through the chest.
Why It Helps:
Bridge pose stretches the front body while activating the glutes and back. It creates space in the lumbar spine and encourages spinal decompression.
Pose 3: Cobra Pose (Bhujangasana)
How to Do It:
- Start on your stomach with hands under shoulders, elbows close to ribs.
- Inhale and lift your chest using the strength of your back, not just your arms.
- Keep your pelvis grounded and shoulders away from ears.
Why It Helps:
Cobra enhances mobility in the thoracic spine (mid-back), where most of us experience stiffness. It helps undo the “computer hunch” and reestablish a natural curve.
Did You Know? The thoracic spine has limited mobility compared to other regions, making backbends crucial for unlocking this area.
Pose 4: Camel Pose (Ustrasana)
How to Do It:
- Kneel with knees hip-width apart.
- Place your hands on your lower back or heels (advanced).
- Inhale and lift your chest as you arch back, pushing hips forward.
- Keep neck neutral or drop it gently if there’s no strain.
Why It Helps:
Camel pose is a deep heart opener that decompresses the entire front line of the body, especially the chest and thoracic spine. It also activates the hip flexors and opens up the shoulders.
Pose 5: Puppy Pose (Uttana Shishosana)
How to Do It:
- Start in tabletop position, then walk your hands forward.
- Keep hips over knees as you lower your chest toward the floor.
- Let the forehead or chin touch the ground.
Why It Helps:
This pose provides a gentle yet deep stretch in the upper back and shoulders. It’s ideal for those with forward-rolled shoulders and neck tension caused by desk work.
Interesting Fact: Puppy Pose is often used in therapeutic yoga sequences for anxiety because of its calming, chest-opening nature.
Pose 6: Wheel Pose (Urdhva Dhanurasana)
How to Do It:
- Lie on your back, bend your knees and place your hands beside your ears.
- Press into hands and feet to lift your body off the mat.
- Straighten arms and legs as much as possible.
- Engage thighs and glutes to support the spine.
Why It Helps:
Wheel pose is an advanced full-body backbend that stretches the spine deeply, strengthens the arms and legs, and energizes the nervous system. It’s highly effective for reversing prolonged spinal compression.
Caution: Only practice if you’ve built up strength and flexibility through the earlier backbends.
Pose 7: Locust Pose (Salabhasana)
How to Do It:
- Lie on your belly with arms by your sides, palms down.
- On an inhale, lift your head, chest, arms, and legs off the floor.
- Keep your neck long and gaze forward.
- Hold for a few breaths before lowering.
Why It Helps:
Locust builds strength in the back muscles that support the spine. It’s particularly helpful for improving posture and preventing further compression due to slouching.
Pose 8: Bow Pose (Dhanurasana)
How to Do It:
- Lie on your stomach and bend your knees.
- Reach back to grab your ankles.
- Inhale, lift your chest and legs simultaneously.
- Kick your feet into your hands to deepen the stretch.
Why It Helps:
Bow pose creates a powerful stretch along the front body while stimulating the spine. It strengthens the back, improves digestion, and promotes full spinal mobility.
Final Thoughts
Backbending poses aren’t just beautiful postures—they are tools to restore space, mobility, and vitality to your spine.
Whether you’re dealing with a desk-bound lifestyle or stiffness from aging, regularly practicing these 8 poses can help decompress your spine naturally and safely.
Start slow, listen to your body, and always emphasize length before depth. With consistency and proper alignment, you’ll not only feel lighter and more open—you’ll also be giving your spine the freedom it deserves.
Frequently Asked Questions (FAQs)
Can backbending poses really help decompress the spine?
Yes, backbending poses can help lengthen and create space between the vertebrae by stretching the front body and activating spinal support muscles. This can reduce tension and reverse the effects of prolonged compression from sitting or poor posture.
Are backbends safe for beginners?
Some backbends, like Sphinx, Bridge, and Puppy Pose, are safe for beginners when performed with correct alignment and breathing. Advanced poses like Wheel or Bow should only be attempted after building sufficient strength and flexibility.
How often should I practice backbending poses for spinal health?
2 to 4 times per week is ideal for most people. Consistency is key—frequent, gentle practice is more effective than intense occasional sessions.
What should I do if I feel pain during a backbend?
Stop immediately. Pain, especially sharp or pinching pain in the lower back or neck, is a sign that you may be overcompressing instead of lengthening. Modify the pose, reduce depth, or consult a yoga instructor.
Can backbending help with posture correction?
Absolutely. Backbends counteract rounded shoulders and forward head posture by strengthening the spine, opening the chest, and realigning the body.
Do I need to warm up before doing backbending poses?
Yes. Gentle warm-up poses such as Cat-Cow, low lunges, or shoulder rolls prepare your spine and shoulders for safe backbending by increasing mobility and blood flow.
What are the risks of backbending if done incorrectly?
Improper form can lead to lower back strain, neck compression, or shoulder discomfort. Always focus on engaging your core, lengthening the spine, and avoiding sudden movements.
Are there any contraindications for practicing backbends?
Yes. People with herniated discs, recent spine surgeries, or certain heart and neck conditions should avoid deep backbends or consult a medical professional before practicing.