Do you ever feel like your mind is racing, your body is tense, and no amount of rest feels truly restful?
You’re not alone. In today’s fast-paced world, stress has become a silent companion in our daily lives—often lingering in the background, unnoticed until it erupts into fatigue, anxiety, or even burnout.
But what if there were a science-backed way to calm your nervous system, lower your cortisol levels, and create a deep sense of peace—all without breaking a sweat?
Welcome to the gentle power of restorative yoga.
Unlike traditional yoga that may focus on strength or flexibility, restorative yoga is about stillness, support, and surrender.
In just 7 simple steps, this calming yoga flow allows your body and mind to enter a deep state of relaxation by activating your parasympathetic nervous system—your body’s natural “rest and digest” mode.
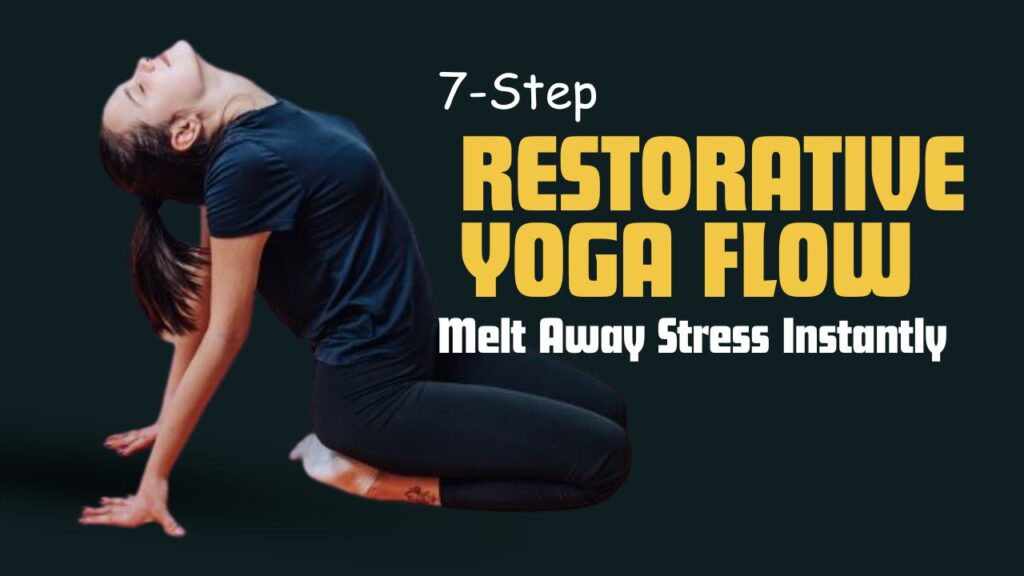
Table of Contents
What Can Happen After 30 Days of Practicing the 7-Step Flow?
| Positive Changes You May Experience | Explanation |
|---|---|
| Reduced Stress and Anxiety Levels | Activating the parasympathetic nervous system regularly helps calm your mind and lower cortisol levels. |
| Improved Sleep Quality | Deep relaxation techniques can promote longer, more restful sleep and reduce nighttime wakefulness. |
| Enhanced Emotional Resilience | Regular practice allows you to respond to challenges with greater calm and clarity. |
| Decreased Muscle Tension and Aches | Gentle stretches and supported poses relieve built-up tension in areas like the back, neck, and hips. |
| Better Focus and Mental Clarity | A quieter mind leads to improved concentration and a sharper sense of awareness. |
| More Balanced Mood | The inward focus and breath awareness can help regulate emotional highs and lows. |
| Increased Mind-Body Awareness | You become more attuned to how your body feels and what it needs—fostering holistic well-being. |
| Stronger Daily Self-Care Habits | Setting aside time for restorative yoga builds discipline and reinforces the importance of intentional rest. |
Do’s and Don’ts for Practicing the Restorative Yoga Flow
| Do’s | Don’ts |
|---|---|
| Use props like bolsters, pillows, or blankets for support | Force your body into any position that feels uncomfortable |
| Breathe deeply and consciously throughout the session | Hold your breath or rush through poses |
| Wear loose, comfortable clothing to allow easy movement | Practice in tight or restrictive clothing |
| Practice in a quiet, dimly lit space to encourage calm | Practice in noisy or distracting environments |
| Stay in each pose for several minutes to gain full benefits | Skip poses or move too quickly between them |
| Listen to your body and modify poses as needed | Compare yourself to others or aim for “perfect” form |
| Close your eyes and allow your mind to settle inward | Keep checking the clock or phone during practice |
| End with Savasana to absorb the full effect | Skip the final relaxation, even if you’re short on time |
7-Step Restorative Yoga Flow
Step 1: Supported Child’s Pose (Balasana) – Calm the Mind
How to do it:
- Sit on your heels, knees spread wide, and place a bolster or firm cushion between your thighs.
- Gently fold forward, resting your torso and head on the bolster.
- Allow your arms to relax at your sides or extend them forward.
- Breathe slowly and deeply for 3–5 minutes.
Why it works:
This pose creates a cocoon-like sensation that immediately signals your body to let go. It gently stretches the lower back while promoting introspection and quieting the nervous system.
Interesting fact: Child’s Pose can slow your heart rate when combined with long exhalations—making it an excellent start to any de-stress practice.
Step 2: Reclining Bound Angle Pose (Supta Baddha Konasana) – Open the Heart
How to do it:
- Lie on your back with the soles of your feet together and knees falling to the sides.
- Support your knees with blocks or folded blankets to prevent strain.
- Place a bolster along your spine for chest expansion if needed.
- Rest your hands on your belly or by your sides. Stay for 5–7 minutes.
Why it works:
This pose gently opens the hips and chest, areas that tend to contract under stress. It encourages emotional release and opens the heart space, promoting a sense of vulnerability and healing.
Myth buster: Many believe relaxation only comes from sleep. But deep conscious rest—like what this pose offers—can be even more restorative than a nap.
Step 3: Supported Twist (Jathara Parivartanasana) – Release Tension
How to do it:
- Lie on your back, bend your knees and drop them to one side.
- Use a bolster or pillow under your knees for support.
- Keep your shoulders grounded and arms extended.
- Turn your head gently to the opposite side. Hold for 3–5 minutes on each side.
Why it works:
Twists gently massage the spine and abdominal organs, helping to detoxify the body. They also help “wring out” residual stress and tension trapped in the torso and hips.
Step 4: Legs-Up-The-Wall (Viparita Karani) – Activate the Relaxation Response
How to do it:
- Sit beside a wall and swing your legs up as you lie down, forming an “L” shape.
- Use a folded blanket or bolster under your hips for gentle elevation.
- Let your arms rest naturally. Close your eyes and breathe. Stay for 5–10 minutes.
Why it works:
This gentle inversion increases circulation, reduces lower-body swelling, and soothes the nervous system. It’s particularly effective for those who spend long hours standing or sitting.
Did you know? Just 10 minutes in this pose can lower blood pressure and reduce symptoms of mild anxiety.
Step 5: Supported Sphinx or Gentle Backbend – Open the Front Body
How to do it:
- Lie on your stomach with a bolster under your chest and forearms resting in front of you.
- Lift gently into a low sphinx position, keeping the back relaxed.
- Stay here for 2–4 minutes.
Why it works:
Backbends open up the chest and counteract the hunching posture that stress often creates. They can boost energy levels and stimulate the adrenal glands in a gentle, nurturing way.
Step 6: Supported Forward Fold (Paschimottanasana) – Soothe the Nerves
How to do it:
- Sit with your legs extended and place a bolster or pillow on your thighs.
- Gently fold forward and rest your torso and head on the support.
- Relax your shoulders and breathe. Hold for 3–5 minutes.
Why it works:
Forward folds calm the brain, reduce fatigue, and signal the body that it’s safe to rest. They are deeply grounding and are especially effective at quieting mental chatter.
Step 7: Final Relaxation (Savasana) – Deep, Complete Rest
How to do it:
- Lie flat on your back with support under your knees and a blanket over your body if needed.
- Close your eyes and let your whole body sink into the mat.
- Scan your body mentally and release any remaining tension.
- Stay for 7–10 minutes, breathing naturally.
Why it works:
Savasana integrates all the previous poses, allowing the nervous system to absorb the calm. This is where healing and restoration truly happen.
Do you know? Skipping savasana is like walking out of a massage before it ends—this final step is essential for the benefits to settle in.
Final Thoughts
Restorative yoga doesn’t demand effort—it invites ease.
This 7-step flow is more than a sequence of poses. It’s a ritual of self-care that teaches your body how to relax, rebuild, and rebalance.
Practicing this routine even two or three times a week can make a profound difference in your sleep, focus, and ability to respond to life’s stressors with calm rather than chaos.
No fancy tools, no sweat, no rush—just your breath, your body, and your presence.
Because sometimes, doing less is the most powerful thing you can do.
Frequently Asked Questions (FAQs)
How often should I practice this 7-step restorative yoga flow?
Ideally, 2–3 times per week is a great starting point. However, even doing it once a week—or just a few poses when you’re short on time—can help reduce stress and improve sleep quality.
How long does the full sequence take?
The complete flow takes around 30 to 50 minutes, depending on how long you stay in each pose. You can adjust the timing based on your schedule—just try to maintain stillness in each posture to receive its full benefits.
Do I need yoga props to do this routine?
Props like bolsters, blankets, or cushions are helpful but not required. You can use items like rolled-up towels, pillows, or a firm sofa cushion to support your body in each pose.
Can beginners do this restorative yoga flow?
Absolutely. This sequence is beginner-friendly and suitable for all fitness levels. The focus is on gentle stretching and supported relaxation—not flexibility or strength.
Is it normal to feel emotional during or after the session?
Yes, restorative yoga can sometimes bring up unexpected emotions. This is natural as the body releases tension stored in muscles and connective tissue. Allow these feelings to surface without judgment—they’re part of the healing process.
When is the best time to practice restorative yoga?
Evening is ideal, especially before bed, as it prepares your body for deep sleep. However, it’s also beneficial in the morning or afternoon as a reset during a stressful day.
Can I combine this flow with other yoga or workouts?
Yes, this sequence complements other forms of yoga or physical exercise. You can use it as a recovery session after intense workouts or on rest days to balance your nervous system.
Will restorative yoga help with anxiety or insomnia?
Yes. By activating the parasympathetic nervous system, restorative yoga helps calm the mind, lower cortisol levels, and improve sleep—making it a gentle yet effective support for anxiety and insomnia.
Should I focus on my breath during the poses?
Yes. Slow, mindful breathing is key. Try inhaling for a count of four and exhaling for six to help deepen relaxation. Let your breath guide you deeper into stillness.
Can I fall asleep during the session?
It’s not uncommon, especially during longer holds or savasana. While staying awake allows you to remain conscious of your body’s response, falling asleep is a sign that your body feels safe and relaxed—and that’s okay too.