Do you know that your glutes are not just for aesthetics? They are the largest and strongest muscle group in your body and play a crucial role in stabilizing your hips, improving posture, and enhancing overall athletic performance.
Many people believe that sculpted glutes can only be achieved with heavy weights at the gym. The truth is, with a structured bodyweight glute circuit, you can effectively tone, lift, and strengthen your glutes in just 7 days, all from the comfort of your home.
In this post, we’ll guide you through a full 7-day glute-focused routine, including detailed step-by-step instructions for each exercise, so you can get the most out of your workouts.
You’ll also find tips on proper form, common mistakes to avoid, and a complete 7-day challenge schedule at the end.
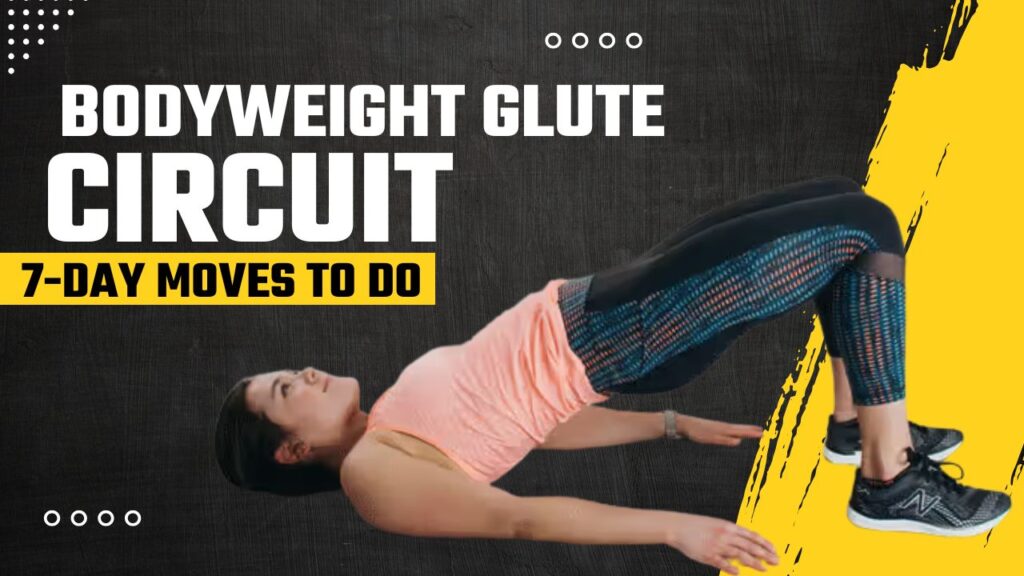
Table of Contents
What Can Happen After 30 Days of the 7-Day Glute Circuit
| Area | Expected Changes / Benefits |
|---|---|
| Glute Strength | Noticeably stronger and firmer glutes |
| Glute Shape | Improved lift, tone, and overall sculpted appearance |
| Lower Body Stability | Better balance and hip control during daily activities |
| Posture | Enhanced posture due to stronger glutes and core engagement |
| Endurance | Increased lower-body stamina and reduced fatigue during workouts |
| Flexibility & Mobility | Improved hip and glute flexibility, reduced tightness |
| Confidence | Feeling more confident in appearance and movement |
| Core Engagement | Stronger core due to stabilization in glute exercises |
| Muscle Activation | Better mind-muscle connection with glutes during exercises |
| Energy Levels | Boosted energy and improved overall fitness performance |
Do’s and Don’ts for 7-Day Glute Circuit
| Do’s | Don’ts |
|---|---|
| Focus on proper form for each exercise | Rush through reps without control |
| Engage your glutes and core throughout | Use your lower back to lift instead of glutes |
| Warm up before starting the circuit | Skip warm-ups or stretching |
| Follow the challenge consistently for results | Expect instant sculpting overnight |
| Gradually increase reps, pulses, or rounds for progression | Overtrain or do multiple intense sessions without rest |
| Use a mat for comfort and support | Perform exercises on hard surfaces without support |
| Stretch on Day 7 for recovery and mobility | Ignore post-workout stretching and recovery |
| Listen to your body and modify if needed | Push through pain or discomfort in joints |
| Hydrate and maintain a balanced diet | Neglect nutrition and hydration |
| Track progress weekly | Skip tracking progress and form improvement |
Day 1: Glute Activation & Hip Strength
Before you start sculpting your glutes, it’s important to activate the muscles properly. Activation exercises “wake up” your glutes and ensure that you are targeting them effectively in all movements.
1. Glute Bridges
Description: Glute bridges target your gluteus maximus, hamstrings, and core, making them ideal for beginners and for activating your glutes before intense work.
How to:
- Lie on your back with your knees bent and feet flat on the floor, hip-width apart.
- Place your arms at your sides for stability.
- Engage your core and press through your heels to lift your hips toward the ceiling.
- Squeeze your glutes at the top and hold for 2–3 seconds.
- Lower your hips slowly back to the starting position.
Tips: Focus on driving through your heels rather than your toes to fully engage your glutes.
2. Donkey Kicks
Description: This exercise isolates your glutes and helps strengthen your hip muscles, which improves your overall lower-body stability.
How to:
- Start on all fours, with your hands under your shoulders and knees under your hips.
- Keeping your knee bent at 90 degrees, lift one leg toward the ceiling while squeezing your glutes.
- Slowly lower your leg without touching the floor.
- Repeat for the opposite leg.
Tips: Avoid arching your lower back; keep your core engaged throughout.
3. Fire Hydrants
Description: Fire hydrants target your glute medius, helping to shape and lift the sides of your glutes.
How to:
- Begin on all fours with your hands under shoulders and knees under hips.
- Keeping your knee bent, lift one leg out to the side until your thigh is parallel to the floor.
- Pause for a second, then return to the starting position.
- Repeat on the other side.
Fun Fact: Glute medius strength is essential for running, balance, and preventing hip injuries.
Day 2: Tone & Sculpt with Bodyweight
On Day 2, we focus on exercises that challenge your glutes through range of motion and stability.
1. Single-Leg Glute Bridge
Description: A more advanced version of the glute bridge that targets each glute individually for better symmetry.
How to:
- Lie on your back with one foot flat on the floor and the other leg extended straight up.
- Push through the heel on the floor to lift your hips toward the ceiling.
- Hold for 2–3 seconds and lower slowly.
- Switch legs after completing the set.
2. Step-Back Lunges
Description: This variation targets your glutes and hamstrings more than regular forward lunges.
How to:
- Stand tall with feet hip-width apart.
- Step one foot back into a lunge, bending both knees to approximately 90 degrees.
- Push through the front heel to return to standing.
- Alternate legs with each rep.
Tip: Keep your chest lifted and core tight to maintain balance.
3. Side-Lying Leg Raises
Description: Side-lying leg raises sculpt your outer glutes and hips, improving lower-body aesthetics.
How to:
- Lie on one side with legs stacked.
- Lift the top leg as high as possible while keeping the leg straight.
- Slowly lower back down without touching the bottom leg.
- Repeat for the other side.
Day 3: Power & Strength
Day 3 focuses on building strength and endurance, which is key for a lifted and toned glute appearance.
1. Bulgarian Split Squats (Bodyweight)
Description: This single-leg squat variation engages glutes, quads, and hamstrings intensely.
How to:
- Stand facing away from a bench or chair.
- Place one foot on the bench behind you.
- Lower your back knee toward the floor while keeping your torso upright.
- Push through the front heel to return to the starting position.
- Switch legs after the set.
2. Curtsy Lunges
Description: Curtsy lunges target gluteus medius and improve lateral strength and hip mobility.
How to:
- Stand tall with feet hip-width apart.
- Step one leg behind and across your body, bending both knees as if performing a curtsy.
- Push through the front heel to return to standing.
- Alternate legs.
3. Glute Kickbacks (Standing)
Description: These can be done standing and target gluteus maximus while also engaging your lower back.
How to:
- Stand with feet hip-width apart, hands on a wall or chair for support.
- Lift one leg straight back, squeezing your glutes at the top.
- Lower slowly and repeat on the other side.
Myth Busted: Many people think only squats grow glutes, but targeted exercises like kickbacks activate muscles differently for better sculpting.
Day 4: Glute Endurance & Stability
This day is designed to improve glute endurance, helping your muscles appear lifted and firm over time.
1. Donkey Kick Pulses
How to:
- Start on all fours.
- Lift one leg with knee bent, and pulse up and down in small controlled movements.
- Complete 15–20 pulses, then switch legs.
2. Glute Bridge March
How to:
- Start in a glute bridge position.
- Alternate lifting one knee toward your chest while keeping hips elevated.
- Continue alternating for 12–15 reps per leg.
3. Squat Hold with Pulse
How to:
- Stand with feet slightly wider than shoulder-width apart.
- Lower into a squat position and hold.
- Pulse up and down 5–6 inches for 20 reps.
Fun Fact: Small pulses keep glutes under tension longer, stimulating more muscle fibers than regular squats.
Day 5: Sculpt & Lift
Day 5 focuses on combining strength and endurance for maximum glute shaping.
1. Sumo Squats
How to:
- Stand with feet wider than shoulders and toes pointing outwards.
- Lower into a squat while keeping chest lifted.
- Press through heels to return to standing.
2. Hip Thrusts (Floor Version)
How to:
- Sit on the floor with upper back against a bench or sturdy surface.
- Bend knees, feet flat, and thrust hips up while squeezing glutes.
- Lower slowly and repeat.
3. Side Plank Leg Lifts
How to:
- Begin in a side plank position.
- Lift the top leg upward while keeping your body straight.
- Lower slowly and repeat on both sides.
Day 6: Glute Isolation & Shape
Isolation exercises help target smaller glute muscles for a fuller, lifted look.
1. Clamshells
How to:
- Lie on one side with knees bent at 90 degrees.
- Open your top knee like a clamshell while keeping feet together.
- Lower slowly and repeat.
2. Fire Hydrant Pulses
How to:
- Start on all fours.
- Lift one leg to the side and pulse 10–12 times.
- Switch legs and repeat.
3. Bridge with Side Leg Lift
How to:
- Get into a glute bridge position.
- Lift one leg to the side while keeping hips elevated.
- Lower slowly and repeat for the other leg.
Day 7: Active Recovery & Glute Stretch
After six days of intense training, recovery is key. Day 7 focuses on stretching, mobility, and light activation to prevent soreness and promote muscle growth.
1. Pigeon Pose
How to:
- Start in a plank position.
- Bring one knee forward and place it behind your hands.
- Extend the other leg straight back.
- Hold for 30–60 seconds per side.
2. Seated Glute Stretch
How to:
- Sit with legs extended.
- Cross one ankle over the opposite knee.
- Lean forward slightly and hold the stretch.
3. Standing Forward Fold with Clasp
How to:
- Stand tall and interlace fingers behind your back.
- Hinge at the hips and fold forward, stretching glutes, hamstrings, and shoulders.
- Hold for 30–45 seconds.
Interesting Fact: Stretching improves blood flow and nutrient delivery to muscles, helping them recover and grow stronger.
7-Day Glute Circuit Challenge
| Day | Exercises | Reps / Duration |
|---|---|---|
| 1 | Glute Bridge, Donkey Kick, Fire Hydrant | 12–15 reps each |
| 2 | Single-Leg Glute Bridge, Step-Back Lunge, Side-Lying Leg Raise | 10–12 reps per leg |
| 3 | Bulgarian Split Squat, Curtsy Lunge, Standing Glute Kickback | 12 reps each |
| 4 | Donkey Kick Pulses, Glute Bridge March, Squat Hold with Pulse | 15–20 reps |
| 5 | Sumo Squat, Hip Thrust, Side Plank Leg Lift | 12–15 reps |
| 6 | Clamshell, Fire Hydrant Pulses, Bridge with Side Leg Lift | 12–15 reps |
| 7 | Pigeon Pose, Seated Glute Stretch, Standing Forward Fold | Hold 30–60 sec |
Conclusion
Completing this 7-Day Bodyweight Glute Circuit is just the beginning of your journey toward stronger, sculpted glutes.
In just one week, you’ve activated, strengthened, and shaped your glutes while improving stability and mobility. Remember, consistency is key—glute transformation doesn’t happen overnight, but with dedication, the results are inevitable.
To take your progress further, you can continue the challenge for 2–4 more weeks by gradually increasing reps, adding holds or pulses, or combining exercises into supersets.
For example, try performing two rounds per day instead of one, or include mini resistance bands for added intensity.
This extended approach not only enhances glute definition but also boosts endurance, strength, and overall lower-body aesthetics.
Challenge yourself, track your progress weekly, and you’ll notice firmer, lifted glutes along with improved posture, strength, and confidence. The journey doesn’t stop here—make it a lifestyle habit, and your glutes will thank you.
Frequently Asked Questions (FAQs)
Do I need any equipment for this 7-day glute circuit?
No, all exercises in this circuit use only your bodyweight. However, you can optionally add resistance bands for increased intensity.
How long does each daily workout take?
Each session typically takes 20–30 minutes, depending on your pace and rest intervals.
Can beginners follow this routine?
Yes! The exercises are beginner-friendly, but focus on proper form and controlled movements. You can reduce reps if needed.
How soon will I see results?
Most people notice subtle toning and improved glute engagement within 2–3 weeks, with more visible sculpting after consistent training for 4–6 weeks.
Can I do this challenge every week?
Yes, you can repeat it weekly. To continue progressing, increase reps, add pulses, or combine exercises into supersets.
Can I pair this with other workouts?
Absolutely! You can combine this glute circuit with cardio, upper-body strength training, or yoga. Just make sure to allow rest for recovery.
How do I prevent lower-back strain during glute exercises?
Engage your core throughout each exercise and focus on driving movements through your glutes and heels rather than your lower back.
Are stretches necessary on Day 7?
Yes, stretching and mobility work on Day 7 help prevent soreness, improve flexibility, and promote muscle recovery.
Can I modify exercises if I have knee or hip issues?
Yes. Reduce range of motion, perform exercises slower, or choose alternative movements that don’t cause discomfort. Always consult a healthcare professional if needed.
Should I follow a specific diet while doing this challenge?
A balanced diet with sufficient protein supports muscle growth and recovery. Hydration is also key for performance and recovery.