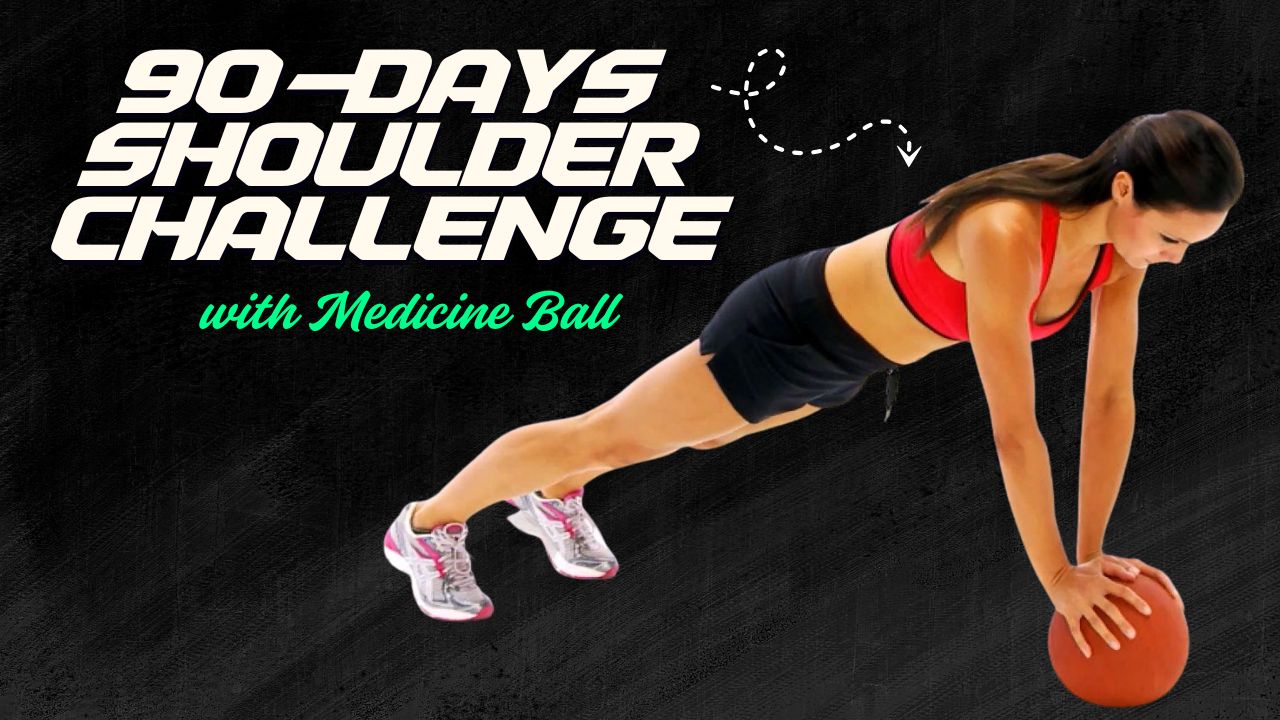
Strong, toned arms aren’t just aesthetically pleasing—they’re a sign of functional strength that supports everyday movements, enhances athletic performance, and boosts overall confidence.
But here’s a question for you: did you know that most people neglect arm-specific finishing exercises, relying solely on compound movements like push-ups or pull-ups?
While compound exercises are excellent, adding a focused arm finisher can dramatically improve arm definition and endurance in just one week.
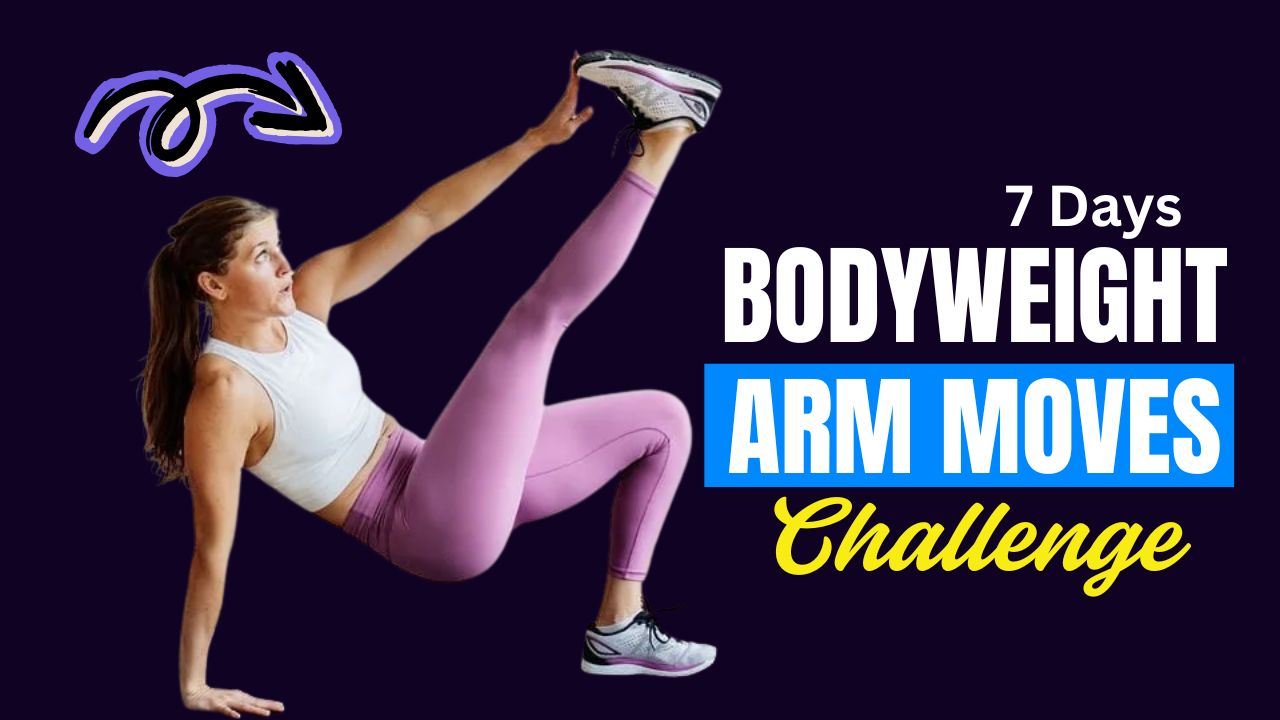
This 7-day bodyweight arm finisher program is designed for people at any fitness level who want to see tangible results in a short time without equipment.
By performing targeted exercises at the end of your workout, you’ll engage every major muscle in your arms, from your biceps and triceps to your forearms and shoulders.
Below, you’ll find the exercises, step-by-step instructions, and a 7-day challenge plan. Let’s dive in.
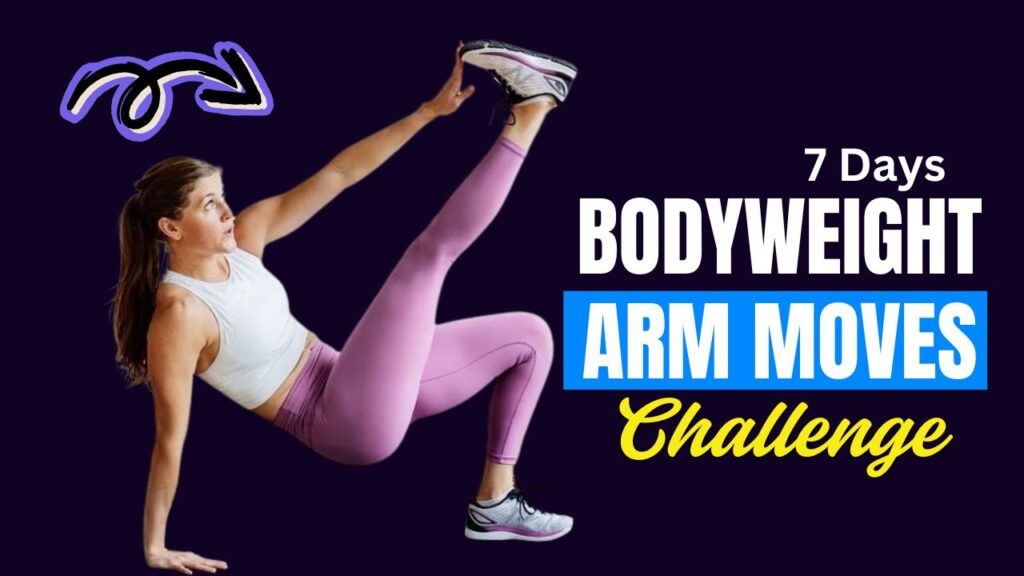
Table of Contents
What Can Happen After 30 Days of the 7-Day Bodyweight Arm Finisher Program
| Outcome | Description |
|---|---|
| Improved Arm Definition | Noticeably more toned biceps, triceps, and shoulders due to consistent targeted exercises. |
| Increased Arm Strength | Enhanced ability to perform push-ups, dips, and other upper body movements with better control. |
| Better Muscle Endurance | Arms can sustain longer periods of activity without fatigue, improving overall workout performance. |
| Enhanced Shoulder Stability | Strengthened deltoids and stabilizing muscles reduce risk of injury during daily activities or workouts. |
| Improved Grip and Forearm Strength | Exercises like fingertip push-ups and wrist squeezes enhance grip strength and forearm muscles. |
| Higher Calorie Burn | Muscle engagement and full-arm circuits increase overall energy expenditure, supporting fat loss goals. |
| Boosted Confidence | Visible results and increased strength can improve self-esteem and motivation to continue exercising. |
| Foundation for Advanced Workouts | Builds a strong base to progress to more challenging arm routines or weight-based training. |
Do’s & Don’ts for the 7-Day Bodyweight Arm Finisher Program
| Do’s | Don’ts |
|---|---|
| Focus on proper form for each exercise to maximize muscle engagement. | Rush through repetitions; avoid sacrificing form for speed. |
| Warm up before starting each session to prevent injury. | Skip warm-ups or stretch after the workout instead of before. |
| Engage your core during all exercises for stability. | Let your hips sag or rotate excessively during planks and push-ups. |
| Progress gradually by increasing reps, sets, or hold time. | Push beyond your current capacity, which can cause strain or injury. |
| Rest 60–90 seconds between circuits when doing full-arm finishers. | Ignore rest periods and overwork your muscles. |
| Stay hydrated and follow a balanced diet to support muscle growth. | Rely solely on exercise without proper nutrition. |
| Modify exercises if you are a beginner (e.g., knee push-ups). | Skip modifications and attempt advanced moves too early. |
| Track your progress with measurements or photos. | Expect instant results without consistent effort. |
Day 1: Push-Up Variations for Complete Arm Activation
Push-ups are a classic bodyweight exercise, but slight variations can target your arms differently for maximum sculpting.
1. Diamond Push-Ups
Description: This push-up variation emphasizes your triceps while also engaging the chest and shoulders.
How To:
- Start in a standard push-up position.
- Place your hands close together under your chest, forming a diamond shape with your thumbs and index fingers.
- Lower your body slowly, keeping elbows tucked close to your sides.
- Push back up to the starting position.
Tips: Keep your core tight and avoid letting your hips sag. Beginners can perform these on knees.
2. Close-Grip Push-Ups
Description: Another triceps-focused push-up that also strengthens your inner chest.
How To:
- Get into a standard push-up stance.
- Position your hands shoulder-width apart or slightly narrower.
- Lower your body until your chest almost touches the floor.
- Push through your palms to lift your body back up.
Fact: Close-grip push-ups can increase your triceps strength more effectively than traditional push-ups due to the reduced hand distance, placing more load on the triceps.
Day 2: Isometric Arm Holds
Isometric exercises strengthen muscles by holding them in a static position, improving endurance and muscle tone.
1. Plank to Arm Lift
Description: This variation of the plank adds an isometric arm challenge.
How To:
- Start in a forearm plank position.
- Lift your right arm straight in front of you, keeping your body stable.
- Hold for 5 seconds, then switch to your left arm.
- Repeat 8–10 times per side.
Tips: Focus on keeping your torso level. Don’t rotate your hips.
2. Wall Arm Squeeze
Description: A subtle but powerful exercise for the triceps and shoulders.
How To:
- Stand facing a wall and place both palms flat against it.
- Push into the wall as hard as possible, contracting your arm muscles.
- Hold the squeeze for 15–20 seconds.
- Release and repeat 5–6 times.
Myth Buster: Many people think arm toning requires heavy weights. Isometric holds prove you can sculpt arms with minimal equipment.
Day 3: Arm Burnout with Dips and Variations
Dips are excellent for triceps and shoulder development, and they can be done almost anywhere.
1. Chair Dips
Description: Triceps-focused exercise that also engages the shoulders.
How To:
- Sit on the edge of a sturdy chair with hands gripping the edge.
- Slide forward so your hips are off the chair and legs extended.
- Lower your body slowly by bending elbows to about 90 degrees.
- Push back up, keeping elbows close to your sides.
Tips: Keep your shoulders away from your ears to avoid strain.
2. Bench Dips with Leg Raise
Description: Adds extra intensity by lifting legs to engage your core along with arms.
How To:
- Perform a regular chair dip.
- Lift your legs straight in front of you as you lower and raise your body.
- Maintain slow, controlled movements.
Interesting Fact: Engaging your core during arm exercises improves overall stability and reduces injury risk.
Day 4: Bicep Blast Without Weights
Bodyweight exercises can also target biceps effectively, focusing on contraction and form.
1. Inverted Row Under Table
Description: Works the biceps, back, and forearms using a stable table.
How To:
- Lie under a sturdy table and grab the edge with palms facing you.
- Keep your body straight and pull your chest toward the table edge.
- Lower slowly and repeat 10–12 times.
Tips: Engage your core to prevent sagging. Avoid jerky movements.
2. Towel Curl
Description: A creative way to mimic bicep curls using only a towel.
How To:
- Wrap a towel around a sturdy door handle or railing.
- Stand back and hold both ends with palms facing up.
- Lean back slightly and pull yourself forward by bending elbows.
- Control your body as you release.
Fact: Resistance doesn’t always come from weights; controlling your own bodyweight creates effective tension for biceps.
Day 5: Shoulder Sculpting Finisher
Strong shoulders improve arm aesthetics and functionality.
1. Pike Push-Ups
Description: Focuses on deltoids and triceps.
How To:
- Begin in a downward dog position.
- Lower your head toward the floor by bending elbows.
- Push back up to return to the starting position.
Tips: Keep legs straight and hips high. Beginners can bend knees slightly.
2. Arm Circles
Description: Simple, but effective warm-up and burn exercise for shoulders.
How To:
- Extend arms to the sides at shoulder height.
- Make small forward circles for 30 seconds, then backward circles for 30 seconds.
- Gradually increase circle size for added intensity.
Interesting Fact: Rotational exercises like arm circles improve joint mobility and blood flow to the arms.
Day 6: Forearm and Grip Strength
Strong forearms enhance overall arm appearance and functional strength.
1. Fingertip Push-Ups
Description: Advanced push-up variation focusing on forearms, wrists, and grip.
How To:
- Get into a standard push-up position.
- Place fingertips on the floor instead of palms.
- Lower and lift your body, maintaining balance on your fingers.
Tips: Start on knees if needed. Gradually increase reps as strength improves.
2. Wrist Rotations and Squeezes
Description: Improves forearm endurance and flexibility.
How To:
- Extend arms in front of you.
- Make fists and rotate wrists clockwise for 30 seconds, then counterclockwise.
- Squeeze fists tightly for 10 seconds, release, and repeat.
Fact: Many people neglect forearms, but well-developed forearms make your arms look more complete and proportional.
Day 7: Full Arm Finisher Circuit
Combine all major exercises into a high-intensity finisher for maximum arm burn.
1. Circuit Moves
- Diamond Push-Ups – 12 reps
- Chair Dips – 15 reps
- Inverted Row Under Table – 10 reps
- Pike Push-Ups – 12 reps
- Fingertip Push-Ups – 8 reps
How To:
- Perform each exercise back-to-back with minimal rest.
- Repeat the circuit 2–3 times.
- Rest for 60–90 seconds between circuits.
Interesting Fact: Performing circuits at the end of your workout boosts calorie burn and helps with muscle definition faster.
7-Day Bodyweight Arm Challenge Routine
Here’s how to structure your week to see maximum results:
| Day | Exercise Focus | Exercises | Reps / Time | Notes |
|---|---|---|---|---|
| 1 | Triceps & Chest | Diamond Push-Ups, Close-Grip Push-Ups | 3 sets x 10–12 | Slow, controlled reps |
| 2 | Isometric Strength | Plank to Arm Lift, Wall Arm Squeeze | 3 sets x 10–12 / 15–20 sec hold | Engage core |
| 3 | Triceps Burnout | Chair Dips, Bench Dips with Leg Raise | 3 sets x 12–15 | Maintain elbow alignment |
| 4 | Biceps Focus | Inverted Row Under Table, Towel Curl | 3 sets x 10–12 | Full range of motion |
| 5 | Shoulders | Pike Push-Ups, Arm Circles | 3 sets x 12–15 / 30 sec | Controlled form |
| 6 | Forearms | Fingertip Push-Ups, Wrist Rotations & Squeezes | 3 sets x 8–10 / 30 sec | Start slow, focus on stability |
| 7 | Full Arm Circuit | Diamond Push-Ups, Chair Dips, Inverted Row, Pike Push-Ups, Fingertip Push-Ups | 2–3 rounds | Minimal rest between exercises |
Tips for Success:
- Perform the finisher after your regular workout or even on rest days for added intensity.
- Focus on form over speed to prevent injury and maximize muscle engagement.
- Consistency is key—arm definition requires repeated, targeted effort, even if it’s just one week.
Conclusion & Challenge Continuation
Completing the 7-Day Bodyweight Arm Finisher Program is just the beginning of your journey toward stronger, more sculpted arms.
In just one week, you’ll likely notice improved muscle engagement, endurance, and overall arm definition. But remember, real transformation happens when you build on this foundation consistently.
To continue the challenge and keep progressing:
- Increase Reps or Sets: Gradually add 2–3 more reps per exercise or add an extra circuit to intensify your workouts.
- Combine with Full-Body Workouts: Incorporate these arm finishers at the end of your regular full-body routine to maintain balance and prevent overtraining.
- Add Time Under Tension: Slow down each repetition or hold isometric positions longer to increase muscle activation.
- Include Variations: Swap exercises weekly, such as performing decline push-ups, spiderman push-ups, or elevated dips, to target muscles differently and avoid plateaus.
- Track Your Progress: Take weekly photos or measure arm circumference to stay motivated and monitor changes.
By extending this program beyond the initial week and progressively challenging yourself, you can continue building stronger, leaner arms, improve overall upper body strength, and create lasting fitness habits. This is more than a one-week sprint—it’s the start of a sustainable arm-strengthening journey.
Frequently Asked Questions (FAQs)
Can I really sculpt my arms in just one week?
While one week is enough to notice improved muscle engagement, endurance, and slight toning, significant changes in size and definition typically take several weeks of consistent training. The 7-day program is designed to kickstart results and build a strong foundation.
Do I need any equipment for this program?
No equipment is required. All exercises are bodyweight-based, though household items like a sturdy chair or table can be used for dips and inverted rows.
Can beginners follow this program?
Yes! Beginners can modify exercises by performing push-ups on knees, reducing reps, or holding positions for shorter durations. The program is scalable to all fitness levels.
How often should I do this program?
The plan is designed as a 7-day challenge. After completing the first week, you can repeat the program or increase intensity through additional sets, reps, or variations.
Will this program help me lose arm fat?
This program strengthens and tones arm muscles, but fat loss also depends on overall diet and cardio activity. Combining arm finishers with full-body workouts and proper nutrition will enhance results.
How long does each day’s workout take?
Each finisher session should take 10–20 minutes, depending on your rest periods and number of sets completed.
Can I do this program at home?
Absolutely. The exercises are designed for minimal space and can be performed in a living room, bedroom, or even a small workout area.
What if I experience soreness?
Mild soreness is normal, especially for beginners. Stretch your arms, stay hydrated, and allow muscles to recover. Avoid overexertion to prevent injury.
Should I do this on rest days?
You can use this program as an add-on to active rest days, but make sure not to overtrain. Listen to your body and adjust intensity as needed.
Can I combine this with weight training?
Yes. This program complements weight training well and can serve as a finisher to enhance arm definition and endurance.