When most people think of leg training, squats and lunges come to mind. But here’s a fact: your calves are one of the most undertrained muscles in the lower body—yet they’re vital for balance, agility, explosive power, and endurance.
Do you know that the calf muscles support nearly every step you take? From walking upstairs and sprinting to stabilizing your ankle when you land a jump, strong calves reduce injury risks and give your legs a more sculpted, athletic look.
Despite this, many people struggle to grow or strengthen their calves because they either overlook them or stick to repetitive standing raises.
That’s where a medicine ball comes in. This versatile tool challenges stability, activates supporting muscles, and adds resistance without needing bulky gym equipment.
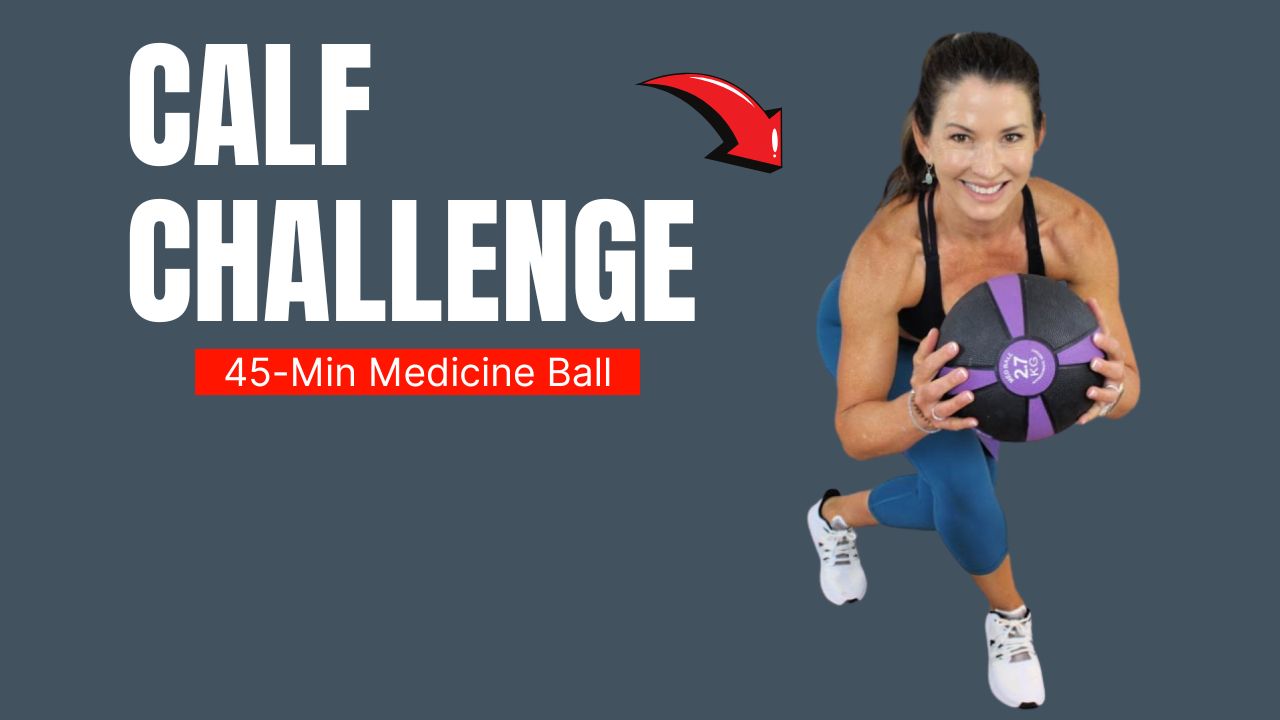
This 45-minute medicine ball calf challenge is designed to help you build stronger, defined calves, improve ankle mobility, and develop explosive lower-leg strength—all from one effective session.

Table of Contents
Why Use a Medicine Ball for Calf Training?
- Instability builds control: Balancing on or with a medicine ball recruits stabilizing muscles around your ankles and calves.
- Portable resistance: Unlike dumbbells or barbells, medicine balls are easy to carry and use anywhere.
- Dynamic range of motion: You can combine jumps, holds, and presses to train calves in multiple movement patterns.
- Functional benefits: Calf strength improves running speed, vertical jump height, and overall sports performance.
Anatomy of the Calves (Quick Insight)
Before we dive into the workout, let’s understand what we’re targeting:
- Gastrocnemius – The larger, outer calf muscle visible when flexed. It helps with explosive movement like sprinting and jumping.
- Soleus – Located underneath the gastrocnemius, this muscle is activated more during seated or bent-knee movements. It provides endurance and stability.
- Tibialis posterior and stabilizers – Smaller muscles around the ankle that keep you balanced during calf raises and dynamic exercises.
Knowing this helps explain why variety (like using a medicine ball) matters for full calf development.
What Can Happen After 30 Days of the 45-Minute Medicine Ball Calf Challenge
| Category | Expected Results |
|---|---|
| Calf Strength | Noticeably stronger calves able to lift body weight with more control. |
| Muscle Definition | Improved muscle tone and visible definition in the gastrocnemius and soleus. |
| Balance & Stability | Enhanced ankle stability and better control during dynamic movements. |
| Explosive Power | Increased vertical jump height and faster push-off during sprints. |
| Endurance | Reduced fatigue during prolonged walking, running, or sports activities. |
| Functional Fitness | Easier performance of daily activities such as climbing stairs or carrying loads. |
| Injury Prevention | Stronger calves help protect against strains, sprains, and Achilles tendon injuries. |
| Mind-Muscle Connection | Improved awareness of calf engagement during other lower-body exercises. |
| Overall Leg Appearance | More balanced and proportional lower legs with enhanced aesthetics. |
Do’s & Don’ts for the 45-Minute Medicine Ball Calf Challenge
| Do’s | Don’ts |
|---|---|
| Warm up for 5–10 minutes before starting the challenge. | Skip the warm-up—it increases injury risk. |
| Use a medicine ball with a weight that allows controlled movement. | Use a weight that is too heavy, compromising form. |
| Maintain slow, controlled movements during calf raises and holds. | Bounce or rush through exercises; this reduces effectiveness. |
| Focus on full range of motion for each exercise. | Perform shallow or partial movements only. |
| Keep your core engaged for balance and stability. | Let your body sway or arch your back during exercises. |
| Gradually increase resistance or duration over weeks. | Try to progress too quickly, which can cause strain. |
| Rest adequately between sets to allow muscle recovery. | Neglect rest; overtraining can lead to soreness or injury. |
| Perform the challenge 2–3 times per week consistently. | Train daily without recovery—it can hinder growth. |
| Listen to your body; modify exercises if needed for injuries. | Push through sharp pain—this can worsen injuries. |
| Pair the challenge with proper nutrition and hydration for best results. | Ignore diet and hydration—it affects performance and recovery. |
The 45-Minute Medicine Ball Calf Exercises
Below are 8 powerful calf-focused exercises using a medicine ball. Each one includes a short description and a step-by-step How To guide.
1. Medicine Ball Standing Calf Raise
Description: The simplest yet most effective way to hit your calves. Adding the medicine ball increases resistance and improves core activation.
How To:
- Stand upright holding a medicine ball at chest level.
- Keep your feet hip-width apart, toes pointing forward.
- Slowly lift your heels off the ground, rising onto your toes.
- Hold for 2–3 seconds at the top, squeezing your calves.
- Lower your heels back down under control.
Tip: Avoid bouncing—slow, controlled movement ensures muscle engagement.
2. Medicine Ball Wall Calf Press
Description: This static hold works your calves isometrically while also engaging your quads and glutes.
How To:
- Stand facing a wall with a medicine ball between your chest and the wall.
- Press into the wall while simultaneously raising your heels off the floor.
- Hold for 20–30 seconds.
- Slowly lower your heels and repeat.
Fact: Isometric holds like this help strengthen tendons and ligaments, not just muscle fibers.
3. Medicine Ball Jump Squat with Calf Drive
Description: This explosive move combines a squat with a powerful calf push-off for strength and plyometric conditioning.
How To:
- Hold the medicine ball at your chest.
- Lower into a squat position with feet shoulder-width apart.
- Explosively push through your calves and jump upward.
- Land softly, bending your knees slightly to absorb impact.
- Repeat immediately for multiple reps.
Myth Buster: Many believe calf raises alone build explosive jumping power. In reality, adding plyometric moves like this develops fast-twitch fibers crucial for vertical jumps.
4. Seated Medicine Ball Calf Raise
Description: A great way to isolate the soleus muscle. Works best if you’re seated on a bench or chair.
How To:
- Sit down with your knees bent at 90 degrees.
- Place a medicine ball on your thighs, close to your knees.
- Raise your heels off the ground, pushing through the balls of your feet.
- Hold at the top, then lower slowly.
Tip: Add more time under tension by holding each rep at the top for 3–4 seconds.
5. Medicine Ball Toe Taps
Description: A fast-paced move that builds calf endurance and ankle mobility.
How To:
- Place the medicine ball on the floor.
- Stand facing it and lightly tap your right toes on top of the ball.
- Quickly switch feet, alternating toe taps in a running motion.
- Continue at a steady pace for 30–60 seconds.
Fact: Toe taps mimic sprinting mechanics, making this exercise excellent for athletes who need speed and agility.
6. Single-Leg Medicine Ball Calf Raise
Description: Balancing on one leg with a medicine ball boosts stability and prevents muscle imbalances.
How To:
- Hold the medicine ball at chest level.
- Stand on your right foot and lift your left foot slightly off the ground.
- Slowly rise onto your right toes.
- Lower back down under control.
- Repeat all reps before switching legs.
Tip: Keep your core tight to avoid swaying.
7. Medicine Ball Bridge with Calf Raise
Description: This hybrid exercise works your glutes and calves together for a stronger posterior chain.
How To:
- Lie on your back with knees bent and feet flat on the floor.
- Place a medicine ball on your hips, holding it with your hands.
- Lift your hips into a bridge position.
- From here, rise onto your toes, lifting your heels off the ground.
- Lower your heels, then lower hips to the floor after reps.
Interesting Fact: Training calves while glutes are engaged improves explosive sprinting mechanics.
8. Medicine Ball Farmer’s Walk on Toes
Description: A functional endurance move that strengthens calves while challenging grip and posture.
How To:
- Hold a medicine ball at your side or in front of your chest.
- Rise onto your toes and walk forward slowly.
- Maintain balance and avoid letting your heels drop.
- Walk for 20–30 seconds, rest, then repeat.
Tip: Focus on small, controlled steps to maximize calf activation.
The 45-Minute Challenge Routine
Below is the structured routine you can follow. It includes sets, reps, and rest periods, arranged for a balanced 45-minute session.
| Exercise | Sets | Reps/Duration | Rest Between Sets |
|---|---|---|---|
| Medicine Ball Standing Calf Raise | 3 | 15 reps | 30 sec |
| Medicine Ball Wall Calf Press | 3 | 20–30 sec hold | 30 sec |
| Medicine Ball Jump Squat with Calf Drive | 4 | 12 reps | 45 sec |
| Seated Medicine Ball Calf Raise | 3 | 15–20 reps | 30 sec |
| Medicine Ball Toe Taps | 3 | 45 sec | 30 sec |
| Single-Leg Medicine Ball Calf Raise | 3 | 12 reps per leg | 40 sec |
| Medicine Ball Bridge with Calf Raise | 3 | 15 reps | 30 sec |
| Farmer’s Walk on Toes | 3 | 20–30 sec walk | 45 sec |
Total Time: ~45 minutes including short rests
Conclusion: Take Your Calves to the Next Level
Your calves are more than just aesthetic muscles—they are the engines that power every step, jump, and sprint.
This 45-minute medicine ball calf challenge has shown you how to build strength, endurance, and definition in ways that go beyond basic calf raises.
By sticking with the plan 2–3 times per week, you’ll not only notice more defined calves but also greater stability in your ankles and improved athletic performance.
Challenge Continuation Idea
Once you’ve completed this 45-minute challenge for 4–6 weeks, it’s time to progress. You can:
- Increase intensity: Add a heavier medicine ball for more resistance.
- Add endurance rounds: Extend holds (like wall calf press) to 45–60 seconds.
- Advance explosiveness: Incorporate more plyometric drills such as medicine ball jump lunges with calf drive.
- Hybrid training: Pair this calf challenge with a leg workout (squats, lunges, deadlifts) for complete lower-body development.
Think of this challenge as your foundation. As your calves adapt, continue layering difficulty—whether through resistance, volume, or advanced movement patterns. This progression ensures you won’t plateau and keeps your calves growing stronger week after week.
Frequently Asked Questions (FAQs)
How often should I do this 45-minute calf challenge?
It’s recommended to perform the challenge 2–3 times per week with at least one rest day in between sessions to allow muscle recovery and prevent overuse injuries.
Do I need a heavy medicine ball to see results?
No. Start with a moderate-weight medicine ball that allows proper form. Once your calves feel stronger, gradually increase the weight to continue challenging the muscles.
Can beginners do this challenge?
Yes. Beginners should focus on proper form and reduce reps or hold times initially. Over 2–3 weeks, you can increase reps, sets, and duration as your calves adapt.
Will this challenge help with calf definition?
Absolutely. This routine targets both the gastrocnemius and soleus muscles using a mix of dynamic and isometric exercises, which enhances strength, endurance, and definition over time.
Can I do this challenge at home without any equipment?
While some exercises can be adapted (like standing calf raises), the medicine ball adds resistance and instability, which maximizes results. Using a substitute like a weighted backpack can work temporarily.
How long before I see results?
Visible changes in calf shape and strength usually appear within 4–6 weeks if you consistently follow the challenge and maintain proper nutrition.
Are these exercises safe for people with ankle issues?
Most exercises are low-impact if performed with control. However, if you have chronic ankle problems or injuries, consult a doctor or physical therapist before starting. You may need to modify certain moves, like single-leg raises or toe taps.
Can this routine improve my athletic performance?
Yes. Strengthening calves improves explosive power, running speed, and ankle stability, which benefits sports like basketball, soccer, and running.
Should I warm up before this challenge?
Definitely. A 5–10 minute warm-up including light cardio, ankle circles, or dynamic calf stretches reduces injury risk and prepares your muscles for the workout.
Can I combine this challenge with other leg workouts?
Yes. For optimal lower-body development, pair this calf challenge with squats, lunges, or deadlifts on alternate days. Just make sure to allow rest days for recovery.


