While yoga is often seen as a path to flexibility and calmness, it’s also a powerful way to build lean muscle and define your upper body—especially your arms and shoulders.
You don’t always need weights to sculpt strong arms. With the right yoga poses and transitions, your body becomes the gym, and your breath becomes your resistance.
If you’re aiming for graceful, toned arms and a sculpted upper back without bulking up, then this list of yoga-based arm and shoulder workouts will give you both strength and structure.
Whether you’re a beginner or seasoned yogi, these poses target the muscles responsible for posture, pushing power, and shoulder stability.
Let’s dive into these 12 powerful yoga-based workouts and how to do each one with proper form.
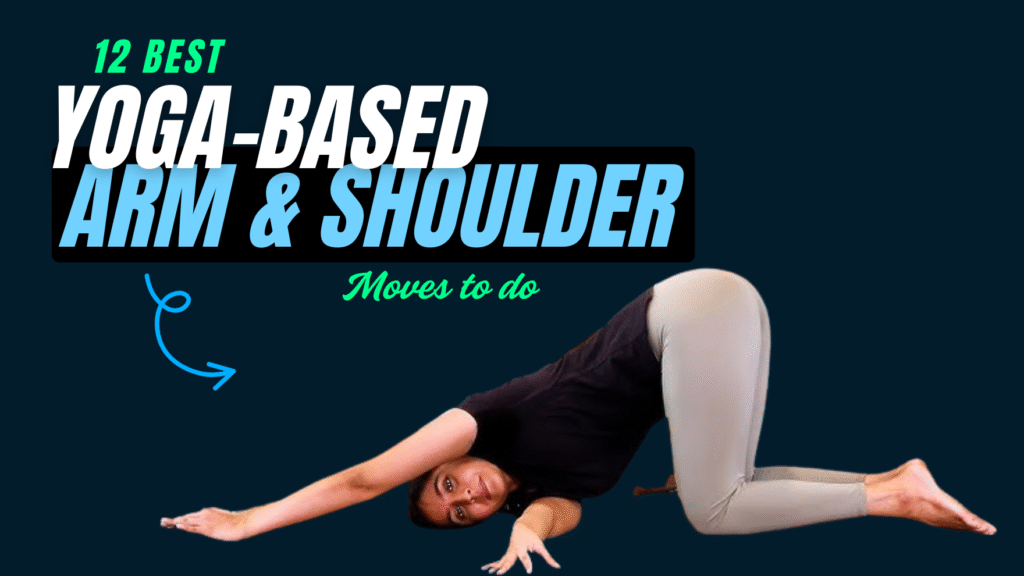
Table of Contents
What Can Happen After 30 Days of Yoga-Based Arm & Shoulder Workouts
| Positive Changes You May Notice | Why It Happens |
|---|---|
| Increased upper body strength | Consistent bodyweight resistance builds arm, shoulder, and back muscle engagement. |
| Visible muscle tone and definition in arms and shoulders | Isometric holds and flowing movements activate deep muscle fibers over time. |
| Improved posture and shoulder alignment | Poses like Locust, Dolphin, and Reverse Tabletop retrain postural muscles. |
| Better joint mobility and range of motion in shoulders | Yoga stretches and opens tight areas, increasing functional flexibility. |
| Enhanced core stability and balance | Many arm-focused poses require active core engagement for control and support. |
| Boosted confidence in performing bodyweight exercises and arm balances | Regular practice builds strength, focus, and familiarity with challenging poses. |
| Reduced tension in neck and upper back | Yoga relieves stress and corrects muscle imbalances caused by poor posture. |
| Increased mind-muscle connection and breath awareness | Breath-coordinated movement improves focus and muscle control. |
Do & Don’t: Yoga-Based Arm & Shoulder Workouts
| Do | Don’t |
|---|---|
| Warm up your shoulders and wrists before starting. | Don’t jump into arm balances without prepping your body. |
| Focus on slow, controlled movement and steady breathing. | Don’t rush through poses or sacrifice form for speed. |
| Modify poses using props or wall support if you’re a beginner. | Don’t force your body into uncomfortable positions. |
| Engage your core in every pose to support your upper body. | Don’t let your lower back or hips sag during planks or transitions. |
| Practice regularly (3–5 times per week) for best results. | Don’t expect visible changes after just a few sessions. |
| Hold poses with intention, aiming for 20–60 seconds each. | Don’t hold your breath—let your breath guide the movement. |
| Use a mirror or record yourself to monitor your form. | Don’t assume you’re aligned correctly without visual feedback. |
| Cool down and stretch after your session to prevent tightness. | Don’t skip recovery, especially after intense arm-focused sequences. |
12 Arm & Shoulder Based Yoga Workouts
1. Plank Pose (Phalakasana)
How to:
- Begin in a tabletop position.
- Extend both legs behind, aligning your shoulders over wrists.
- Engage your core, legs, and arms equally.
Why it works: This full-body strength pose fires up the deltoids, triceps, and stabilizing muscles. Holding it longer builds endurance and definition.
Tip: Keep your hips in line with your shoulders—avoid sagging or raising them too high.
2. Chaturanga Dandasana (Four-Limbed Staff Pose)
How to:
- From plank, shift forward slightly on your toes.
- Bend your elbows close to your ribs and lower halfway down.
- Hover just above the floor.
Why it works: Often called the yogic push-up, this pose targets the triceps, chest, and shoulders while teaching control and precision.
Myth buster: Many believe yoga doesn’t build muscle. But Chaturanga proves otherwise—it’s one of the toughest upper body moves even for athletes.
3. Dolphin Pose
How to:
- Start in a forearm plank.
- Walk your feet closer, lifting your hips toward the ceiling.
- Keep your forearms grounded and spine long.
Why it works: This inversion strengthens shoulders, upper back, and arms while prepping the body for more advanced arm balances.
4. Side Plank (Vasisthasana)
How to:
- From plank, shift your weight onto one hand and the outer edge of the same-side foot.
- Stack the opposite foot on top and raise your top arm.
Why it works: Targets the deltoids, obliques, and arm stabilizers. Great for building unilateral strength and shoulder stability.
Try this variation: Raise your top leg for added intensity and core engagement.
5. Upward Facing Dog (Urdhva Mukha Svanasana)
How to:
- Lie on your belly, place palms beside your chest.
- Press into your hands to lift chest and thighs off the mat.
- Roll your shoulders back.
Why it works: Strengthens triceps and rear deltoids, and opens up the chest and shoulders.
Did you know?
This pose is often rushed through in vinyasa flows—but when held longer, it can deeply condition the upper arms and back.
6. Crow Pose (Bakasana)
How to:
- Squat and place your palms shoulder-width apart.
- Bend elbows and lift your hips.
- Balance your knees on your triceps and shift forward until your feet lift off.
Why it works: Challenges arm, shoulder, and wrist strength while training core stability and focus.
Pro tip: Start with a cushion in front if you’re new to arm balances.
7. Downward Dog to Plank Flow
How to:
- Begin in Downward Dog.
- Shift forward into Plank.
- Move back into Downward Dog.
Why it works: This dynamic transition strengthens shoulders, arms, and core through repetition and movement-based endurance.
Suggestion: Perform this flow slowly to control form and activate muscles more deeply.
8. Reverse Tabletop Pose
How to:
- Sit with knees bent and feet flat, hands behind you (fingers toward feet).
- Press through feet and hands to lift your hips.
Why it works: Engages triceps, rear shoulders, and back muscles while improving shoulder extension and mobility.
Interesting fact: Reverse tabletop is often underrated, but it’s a powerful pose to combat slouched posture and activate underused upper back muscles.
9. Locust Pose (Salabhasana)
How to:
- Lie on your stomach with arms by your side.
- Inhale to lift your chest, arms, and legs off the floor.
- Keep your gaze forward and neck neutral.
Why it works: Strengthens the posterior chain—especially the rear delts and triceps—building balance between front and back body.
Reminder: Consistent practice improves posture and shoulder alignment.
10. Forearm Plank
How to:
- Place forearms on the ground, shoulders over elbows.
- Extend legs behind and engage your core.
- Hold steady without letting your back arch.
Why it works: Builds isometric strength in shoulders, arms, and upper back—ideal for endurance and muscular stability.
Try this: Add shoulder taps for a dynamic challenge.
11. Half Handstand at the Wall (L-Shape Handstand)
How to:
- Face a wall and walk feet up until your body forms an L-shape.
- Keep arms straight and shoulders over wrists.
Why it works: Teaches upper body control, strength, and confidence for inversion progressions.
Caution: Start with supervision or use a sturdy surface for support.
12. Chair Pose with Arm Variations (Utkatasana)
How to:
- Stand with feet together, bend knees deeply into a squat.
- Extend arms overhead or into cactus arms (elbows bent).
Why it works: Though primarily a leg pose, different arm variations recruit shoulders, triceps, and even the upper traps for static tension training.
Tip: Add pulses to your arms to increase the burn.
Final Thoughts
Yoga-based arm and shoulder workouts offer more than aesthetic benefits—they help correct posture, improve joint mobility, and build functional strength.
By incorporating these 12 powerful poses and flows into your weekly routine, you’ll notice improved tone, stamina, and body awareness.
Consistency is key.
You don’t need an hour-long session every day. Even 15–20 minutes of focused yoga movements can lead to noticeable definition and upper body resilience over time.
Keep practicing, and let your strength unfold naturally—breath by breath, pose by pose.
Frequently Asked Questions (FAQs)
Can yoga really help tone and define arms and shoulders?
Yes. Yoga uses bodyweight resistance, static holds, and controlled movement to activate and strengthen muscles in the arms, shoulders, and upper back. With consistency, it can lead to improved muscle tone and definition.
How often should I practice these yoga poses to see results?
Practicing 3–5 times a week, even for 15–30 minutes, can produce visible results in 4–6 weeks. Focus on proper form and gradually increase intensity or hold times.
Do I need equipment for these yoga-based workouts?
No equipment is necessary. All poses use bodyweight only. However, a yoga mat is recommended for grip and support, especially on hard surfaces.
Are these yoga arm and shoulder workouts suitable for beginners?
Yes. Most of the poses can be modified for beginners. Start with basic variations and build strength before progressing to more advanced poses like Crow Pose or L-Shape Handstand.
Can I combine these workouts with weight training or cardio?
Absolutely. These yoga poses complement other forms of exercise by enhancing mobility, flexibility, and muscle endurance. They work well as part of a balanced fitness routine.
Will these yoga poses make my arms bulky?
No. Yoga focuses on lean muscle development through isometric holds and controlled movements. It’s ideal for those seeking definition without bulk.
What’s the difference between yoga-based arm workouts and traditional strength training?
Yoga emphasizes full-body engagement, balance, and controlled breathing, while strength training isolates specific muscles using external resistance. Both are effective but offer different benefits.
How long should I hold each pose?
Start by holding each pose for 20–30 seconds and gradually increase to 1 minute. In dynamic flows, perform 5–10 reps per movement.
Can yoga help with shoulder pain or poor posture?
Yes, when done with proper alignment. Many poses improve shoulder mobility and activate postural muscles, helping to reduce tension and correct slouching.
What should I do if a pose feels too challenging?
Use props like yoga blocks or a wall for support. Modify the pose or reduce the hold time. It’s important to listen to your body and build strength gradually.