Feeling stiff or sore in your lower back? Here’s a surprising truth—most back pain isn’t caused by major injury but by simple inactivity.
Yes, sitting for long hours, poor posture, and a lack of movement are among the biggest culprits behind that nagging ache you feel at the end of the day.
The good news? You don’t need a gym or hours of stretching to start feeling better. This 10-minute lower back challenge is designed to gently target stiffness, activate underused muscles, and restore movement—right from the comfort of your home.
In just ten focused minutes a day, you can loosen up tight hips, mobilize the spine, and reduce the tension that silently builds throughout your lower back.
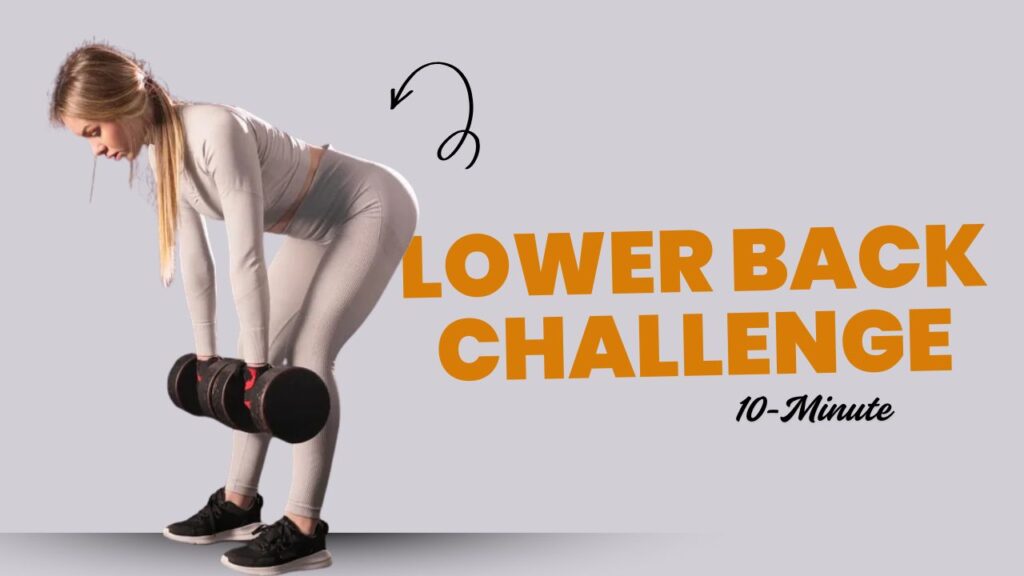
Table of Contents
Why This 10-Minute Routine Works
This lower back challenge blends mobility drills, gentle activation, and targeted stretches. It’s not just about stretching — it’s about retraining your body to support itself better. Think of it as “smart movement”: functional, low-impact, and highly effective.
Common Myth:
You need complete rest when your back hurts.
Reality: Controlled movement is one of the best ways to heal and prevent lower back issues.
Do’s & Don’ts of the 10-Minute Lower Back Challenge
| Do’s | Don’ts |
|---|---|
| Start with a gentle warm-up to prepare your spine | Don’t push through sharp or intense pain |
| Focus on controlled, slow movements | Don’t rush through exercises just to finish quickly |
| Breathe deeply throughout each stretch or hold | Don’t hold your breath during movement |
| Maintain proper form, even if that means smaller range | Don’t sacrifice form for deeper or more intense stretches |
| Perform the routine consistently each day | Don’t skip days and expect lasting results |
| Use a soft surface like a mat or carpet for comfort | Don’t perform on hard flooring without support |
| Listen to your body and adjust as needed | Don’t compare your progress to others |
| Consult a professional if pain persists or worsens | Don’t ignore chronic back pain or ongoing stiffness |
10-Minute Lower Back Challenge Breakdown
Repeat this circuit once. Each movement lasts 1 minute. No equipment required.
1. Pelvic Tilts (1 Minute)
How to Do It:
- Lie on your back, knees bent, feet flat on the floor.
- Slowly flatten your lower back against the floor by tilting your pelvis upward.
- Hold for 3 seconds and release. Repeat gently.
Why: Activates deep core stabilizers and reduces lumbar pressure.
2. Cat-Cow Stretch (1 Minute)
How to Do It:
- Get into a tabletop position (hands under shoulders, knees under hips).
- Inhale and arch your back (cow), lifting your tailbone and gaze.
- Exhale and round your spine (cat), tucking the pelvis and chin.
Why: Increases spinal flexibility and reduces stiffness between vertebrae.
3. Child’s Pose with Side Reach (1 Minute)
How to Do It:
- Kneel down, sit back on heels, stretch arms forward.
- Walk your hands to the right side to stretch the left lower back.
- Hold for 30 seconds, then switch sides.
Why: Opens up the sides of the lower back and targets lateral tightness.
4. Glute Bridge (1 Minute)
How to Do It:
- Lie on your back, knees bent, feet hip-width apart.
- Press through your heels and lift your hips off the floor.
- Squeeze glutes at the top, then lower slowly.
Why: Strengthens glutes — which directly support your lower back.
5. Knee-to-Chest Stretch (1 Minute)
How to Do It:
- Lie flat on your back.
- Pull one knee toward your chest, hold for 30 seconds.
- Switch legs.
Why: Gently stretches lower back and relieves tension in the lumbar region.
6. Seated Spinal Twist (1 Minute)
How to Do It:
- Sit with legs extended.
- Cross one leg over the other, plant foot beside opposite thigh.
- Twist toward the bent knee, placing the opposite elbow outside the knee.
Why: Improves rotational mobility and spine alignment.
7. Hip Flexor Stretch (1 Minute)
How to Do It:
- Kneel with one leg forward, creating a 90-degree angle.
- Shift weight forward until you feel a stretch in the front of your hip.
- Hold for 30 seconds, then switch legs.
Why: Tight hip flexors can tug on the spine and worsen back discomfort.
8. Figure 4 Stretch (1 Minute)
How to Do It:
- Lie on your back, cross right ankle over left thigh.
- Pull left thigh toward your chest gently.
- Hold for 30 seconds, switch legs.
Why: Opens up hips and glutes, easing strain on the lower back.
9. Supine Twist (1 Minute)
How to Do It:
- Lie on your back, arms outstretched.
- Drop knees gently to one side while keeping shoulders grounded.
- Hold for 30 seconds each side.
Why: Mobilizes the spine and soothes tight spinal muscles.
10. Deep Diaphragmatic Breathing (1 Minute)
How to Do It:
- Lie comfortably on your back.
- Place one hand on your chest, one on your belly.
- Breathe deeply into your belly for a count of 4, exhale for 6.
Why: Reduces tension, lowers cortisol, and activates the parasympathetic nervous system—critical for pain relief and recovery.
Recovery & Care Tips for a Healthier Lower Back
Support your progress from the 10-minute challenge with these recovery and care strategies. Movement is powerful, but full recovery also requires attention to daily habits and post-exercise care.
1. Stay Hydrated
Water supports spinal discs, flushes out toxins, and keeps muscles supple. Aim to drink at least 8 glasses a day, especially post-stretch or workout.
2. Apply Heat or Cold When Needed
- Use a warm compress or heating pad to loosen tight muscles and increase blood flow before your routine.
- Apply cold therapy (like an ice pack) after activity if inflammation or soreness appears.
3. Prioritize Sleep Posture
Use a supportive mattress and try sleeping on your back with a pillow under your knees or on your side with a pillow between your legs. Poor sleep posture can undo daytime progress.
4. Maintain an Active Lifestyle
While this challenge is effective, aim to stay active throughout the day. Short walks, standing breaks during desk work, and light mobility drills can prevent stiffness from returning.
5. Strengthen the Core Over Time
Incorporate core-focused exercises like planks or bird-dogs into your weekly routine. A strong core takes pressure off your lower back and supports long-term recovery.
6. Mind Your Posture Daily
Check your sitting and standing posture regularly. Keep your ears over your shoulders, shoulders relaxed, and lower back gently curved—not overly arched or slouched.
7. Use Ergonomic Support
Set up your work and home environment to support your spine—use lumbar cushions, adjustable chairs, and standing desks if possible.
8. Stretch Beyond the Challenge
Add occasional full-body mobility sessions or yoga flows into your week. Flexibility in the hips, hamstrings, and upper back directly benefits lower back health.
9. Monitor Pain Signals
If pain shifts, intensifies, or feels sharp or radiates down the legs, consult a healthcare professional. Not all back pain is muscular—some may indicate nerve or disc issues.
10. Be Patient and Consistent
Recovery is not overnight. While you may feel better quickly, the real transformation comes with weeks of consistent care. Your body needs time to adapt, strengthen, and heal fully.
Quick Benefits of Doing This Daily
- Relieves lower back tightness
- Improves hip mobility and spinal alignment
- Strengthens core and glutes to prevent future pain
- Boosts blood circulation to back muscles
- Enhances posture for long-term relief
Conclusion: Rebuild Your Back, 10 Minutes at a Time
Lower back pain doesn’t have to be a life sentence. With just 10 minutes of intentional movement each day, you can reverse stiffness, reduce discomfort, and build long-term resilience in your spine and supporting muscles.
This simple yet powerful routine is more than a temporary fix — it’s a foundation for better posture, improved flexibility, and pain-free living.
Commit to this daily practice not as a workout, but as an investment in your body’s strength and stability. Over time, you’ll notice more than just physical relief — better energy, improved focus, and a body that moves the way it was meant to.
Frequently Asked Questions (FAQs)
Can I do this routine every day?
Yes. This 10-minute challenge is designed for daily use. It’s gentle enough for regular practice and can actually be more effective when done consistently.
What if I feel discomfort during an exercise?
Mild tightness is normal, but stop immediately if you feel sharp pain, tingling, or numbness. Modify the movement or skip that exercise, and consult a professional if symptoms persist.
Do I need any equipment for this challenge?
No equipment is required. Just a yoga mat or a soft surface is enough to protect your spine and joints.
How soon can I expect to feel relief?
Many people experience immediate lightness or reduced stiffness after the first session. For lasting relief, aim to follow the routine for at least 1–2 weeks consistently.
Is this routine suitable for beginners?
Absolutely. Each movement is beginner-friendly, low-impact, and can be modified to fit different flexibility levels.
Can this help with sciatica or disc issues?
While the challenge is designed for general lower back pain, those with conditions like sciatica, herniated discs, or chronic spinal issues should consult a healthcare provider before starting.
Can I do this routine after a workout or before bed?
Yes. It works great as a cool-down after physical activity or as a wind-down routine before sleep to relax tight muscles and reset posture.
What should I do after finishing the challenge?
Follow up with light activity like walking, stay hydrated, and consider adding other strength and mobility exercises to build long-term support for your back.