Do you feel like no matter how much you walk or run, your ankles and lower legs never seem to get toned?
You’re not alone. Many fitness routines overlook the calves, yet they play a crucial role in shaping your lower body.
The truth is, leaner ankles and defined calves don’t require endless hours at the gym—you just need the right type of focused movement. That’s where this 10-minute calves challenge comes in.
Backed by bodyweight resistance and time-efficient strategies, this daily workout is designed to sculpt, strengthen, and slim your lower legs. Let’s break down what it does, why it works, and how to start today.
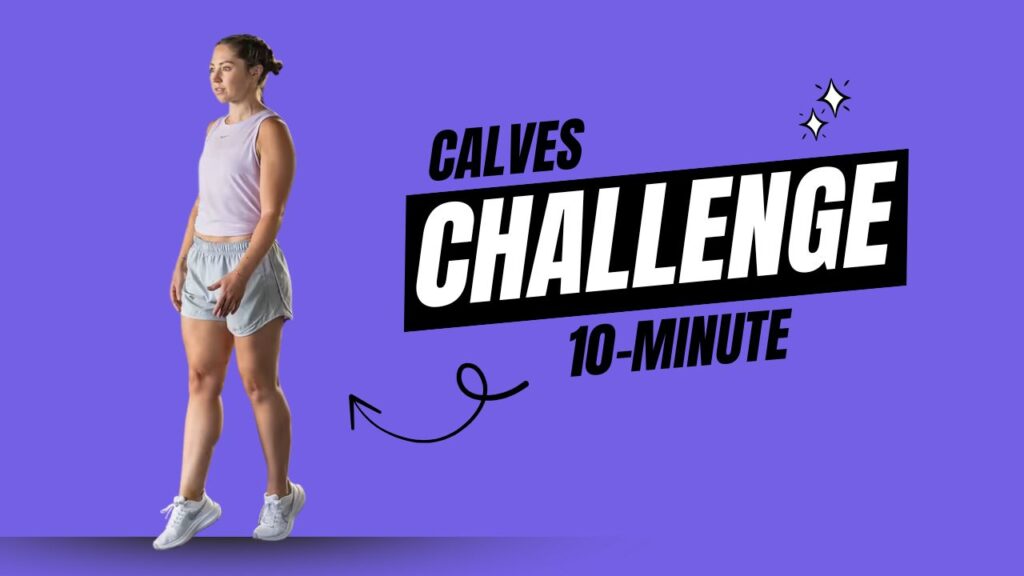
Table of Contents
Why Targeting Calves and Ankles Matters
Your calf muscles—gastrocnemius and soleus—not only power your movements but also affect how your legs look and feel. Strong, lean calves support your ankles, improve balance, and help with injury prevention. Here’s the kicker:
Myth: “You can’t change ankle size.”
Fact: While bone structure stays the same, you can reduce fat deposits and tighten surrounding muscles, giving the area a noticeably leaner appearance.
The bonus? Aesthetic improvement is just part of it. Toned calves improve circulation, mobility, and athletic performance.
How This 10-Minute Calves Challenge Works
This challenge uses high-rep, bodyweight resistance techniques to activate deep muscle fibers in the calves. By incorporating dynamic and isometric moves, you engage both endurance and strength-based fibers, promoting muscle tone and fat reduction.
Structure:
- 10 exercises (1 minute each)
- Minimal rest (10 seconds max)
- No equipment needed
- Suitable for all fitness levels
The 10-Minute Calves Workout (Follow Along)
Tip: Perform this workout daily for 2 weeks and track changes in firmness, definition, and posture.
1. Basic Calf Raises (1 min)
- Stand with feet hip-width apart.
- Lift your heels and squeeze the calves at the top.
- Lower with control.
How it helps: Activates both calf heads and strengthens ankle stability.
2. Pulsing Calf Raises (1 min)
- Stay at the top position and pulse up and down in short bursts.
How it helps: Keeps constant tension, increases endurance and sculpting.
3. Heel Walks (1 min)
- Walk across the room on your heels, toes lifted.
How it helps: Strengthens the tibialis anterior (front of the lower leg), balancing ankle shape.
4. Single-Leg Calf Raises (30 sec each leg)
- Stand on one foot, lift heel, then lower.
How it helps: Enhances muscle isolation, balance, and control.
5. Wall Calf Stretch Hold (1 min)
- Lean into a wall, stretch one leg behind.
- Hold while keeping both heels on the ground.
How it helps: Increases flexibility and defines the muscle.
6. Jumping Calf Pops (1 min)
- Do small hops, barely lifting off the ground, powered by your calves.
How it helps: Adds explosive strength and tones fast-twitch fibers.
7. Toe Walks (1 min)
- Walk around on the balls of your feet, keeping your heels off the floor.
How it helps: Engages calves continuously, boosts endurance.
8. Isometric Calf Hold (1 min)
- Lift your heels and hold at the top, squeezing hard.
How it helps: Encourages muscle definition and vascularity.
9. Elevated Calf Raises (1 min)
- Stand on a stair or raised platform.
- Let your heels dip below, then rise above.
How it helps: Provides a deeper range of motion, building lean length.
10. Ankle Circles (30 sec each side)
- Sit or stand, extend one leg, and slowly rotate the ankle in large circles.
How it helps: Improves ankle mobility and flushes out tension from the workout.
Recovery & Care Tips After Calves Workouts
Targeting your calves daily—even for just 10 minutes—can lead to tightness or delayed soreness, especially if you’re not used to isolating this area. Proper recovery ensures that your muscles repair, strengthen, and grow efficiently while preventing overuse injuries.
Here’s how to take care of your calves and ankles post-workout:
1. Stretch Immediately After Your Workout
Spending just 3–5 minutes on calf-focused stretches can help flush out lactic acid, reduce tightness, and restore flexibility.
Try this:
- Wall calf stretch
- Downward dog hold
- Standing heel drop on a step
2. Hydrate to Prevent Cramping
Calf muscles are especially prone to cramps if dehydrated. Drink enough water throughout the day, and consider adding electrolytes (especially if you’re sweating a lot).
3. Massage & Foam Rolling
Using your hands or a foam roller to massage your calves improves circulation and speeds up muscle repair.
Tip:
- Foam roll both gastrocnemius and soleus by working the entire lower leg.
- Use a tennis ball for deeper pressure on tight spots.
4. Use Compression Socks (If Needed)
Compression socks can reduce swelling and support blood flow, especially if you’re standing or sitting for long periods after the workout. They’re great for post-workout recovery or travel days.
5. Don’t Skip Rest Days (if soreness is high)
Although this challenge is designed for daily use, listen to your body. If soreness is intense, take an active recovery day—like walking, stretching, or light yoga—to promote healing.
6. Elevate Your Legs
After standing or working your calves, elevating your legs for 10–15 minutes helps reduce fluid buildup and promotes venous return—leaving your legs feeling lighter and less swollen.
7. Fuel With Proper Nutrition
After a workout, your calves need protein to rebuild muscle fibers and healthy carbs to refuel energy stores.
Good post-workout options:
- Greek yogurt with fruit
- Smoothie with banana and protein powder
- Eggs on whole grain toast
8. Warm Up Before Every Session
A short dynamic warm-up (ankle circles, high knees, or marching in place) will increase blood flow and reduce your risk of injury during the workout.
9. Mind Your Footwear
Wearing supportive shoes with proper arch and heel support during the day can reduce calf strain and prevent overuse injuries—especially if you’re doing high-rep calf work regularly.
10. Monitor for Overtraining Signs
Watch out for signs like prolonged soreness, swelling, decreased performance, or fatigue. These are cues that your muscles may need more recovery time before the next session.
What Can Happen After 30 Days of This Challenge?
| Week | Visible Changes You May Notice |
|---|---|
| Week 1 | Increased balance, mild soreness, tighter skin feeling. |
| Week 2 | Greater calf endurance, defined muscle lines. |
| Week 3 | Noticeably firmer lower legs, improved posture, lighter steps. |
| Week 4 | Leaner ankles, slimmer appearance from knee to foot, more confidence. |
Do’s and Don’ts for Best Results
| Do’s | Don’ts |
|---|---|
| Do warm up before starting. | Don’t skip the cool-down stretch. |
| Do perform the exercises with control. | Don’t bounce or rush reps. |
| Do track your progress weekly. | Don’t expect overnight results. |
| Do stay consistent with daily practice. | Don’t rely on calves training alone for full-leg results. |
Final Thoughts
You don’t need a gym or a complex routine to tone your lower legs. What you do need is a consistent, focused challenge that targets the right muscles with purpose—and this 10-minute calves routine does exactly that.
Whether your goal is to slim down the look of your ankles, gain definition in your calves, or simply support stronger, healthier movement, this routine is a solid place to begin.
Remember: Visible results come from effort and repetition. Show up daily, give it your best for just 10 minutes, and your lower legs will reward you with strength, tone, and sculpted form.
Frequently Asked Questions (FAQs)
Can I really get leaner ankles and toned calves in just 10 minutes a day?
Yes, with consistent daily effort, this 10-minute challenge can improve muscle tone, reduce fat around the lower legs, and enhance definition. While bone structure won’t change, the appearance of your ankles and calves can become significantly leaner and more sculpted.
How soon can I see visible results?
Most people begin to feel firmness and see light definition within 2 weeks. Noticeable visual changes—such as slimmer ankles and toned calves—typically appear around the 3 to 4-week mark with consistent practice.
Do I need any equipment for this workout?
No equipment is required. All exercises are bodyweight-based and can be done anywhere—at home, in a hotel room, or even during a break at work.
Will this challenge help with calf fat?
Yes, it contributes to fat loss in the lower leg area by improving circulation, boosting local muscular activity, and enhancing muscle definition. Pairing it with a balanced diet will accelerate fat reduction.
Is this routine beginner-friendly?
Absolutely. Each move can be done at your own pace. Beginners can take short breaks between sets or reduce the number of reps, then increase intensity as they build strength.
Can this workout improve my ankle strength or balance?
Yes. The exercises target stabilizing muscles that support the ankle joint, helping to improve strength, mobility, and balance—especially useful for runners, dancers, and athletes.
What time of day is best to do this challenge?
Any time that suits your schedule works. However, doing it in the morning can energize your legs for the day, while doing it in the evening may help relieve tightness and swelling from sitting or standing.
Can I combine this with other leg workouts?
Yes, this calves challenge can be a standalone routine or added to your existing leg or full-body workout as a finisher. Just make sure not to overtrain if you’re doing heavy lower-body sessions.
What if I feel pain in my knees or ankles during the workout?
Stop immediately if you feel sharp or uncomfortable pain. While mild soreness is normal, pain may indicate improper form or a deeper issue. Always warm up before starting and stretch after finishing.
Should I keep doing this after 30 days?
Definitely. You can repeat the challenge, increase intensity (by adding light weights or more reps), or integrate these exercises into your ongoing fitness routine to maintain and enhance your results.
